How To Remove A Car Battery Safely: Your Step-by-Step Guide
Feeling a bit of a shiver when your car struggles to start, or maybe it's just completely silent? You know that feeling, right? Often, a dead or dying car battery is the culprit, and thankfully, disconnecting and replacing a car battery is a straightforward job, so it's almost a relief to tackle it yourself. It really can feel like a big accomplishment to fix something on your own vehicle, and this particular task is quite manageable for many people.
There are quite a few reasons why you might need to take out your car battery, from simply needing a fresh one to doing some other maintenance around the engine. Whatever the reason, doing it the right way is what matters most, and that means keeping safety as your top priority. Here’s how to do it safely and efficiently, with tips from an expert, making sure you feel confident with every move.
This comprehensive guide will explore removing a car battery, including important safety precautions you should always take, all the tools you’ll need to gather, and the precise steps to follow. We will also address common questions people often have and provide tips for ensuring your new battery is installed correctly and ready to go, giving you peace of mind on the road.
- Shu Jiao Fu Zhou
- Good Morning In Italian
- Kanye West And Bianca Censori
- Remoteiot Vpc Ssh Windows 10 Without
- Is Michael Jackson Still Alive
Table of Contents
- Why You Might Need to Remove Your Car Battery
- Safety First: Essential Precautions
- Personal Protection
- Gathering Your Tools and Materials
- Step-by-Step Guide: How to Remove a Car Battery
- What to Do Next (Cleaning and Installation)
- Common Questions About Car Battery Removal (FAQs)
- Troubleshooting and Tips
Why You Might Need to Remove Your Car Battery
There are quite a few good reasons why someone would want to know how to remove a car battery. Perhaps your car has been slow to turn over lately, or maybe the lights seem dim, which often points to a battery that’s losing its charge. Sometimes, you might be getting ready for a long period of storage for your vehicle, and taking out the battery can help prevent it from draining completely, which is a really smart move.
You might also be doing other work under the hood, like fixing a starter or an alternator, and removing the battery is a necessary safety step before you touch anything else that has electrical connections. Or, it could be that your current battery is simply old and has reached the end of its life, and it’s time for a fresh one. Whatever the situation, knowing how to remove a car battery properly is a very useful skill for any car owner to have, and it can save you a bit of money on mechanic fees, too.
Safety First: Essential Precautions
Before you even think about touching your car battery, it’s really important to put safety first. Car batteries, you know, they contain strong acids and can deliver a powerful electrical charge, so they need to be treated with a lot of respect. Ignoring safety steps could lead to serious injury or damage to your vehicle, and we definitely don't want that to happen.
- Victoria Secret Credit Card
- Nicki Minaj Net Worth
- Cuantas Calorias Tiene Una Manzana
- Zack De La Rocha
- American Actor Ray Liotta
Always remember that the goal here is to keep yourself and your car safe while you’re working. Taking a few moments to prepare properly can make all the difference, actually. It’s not just about getting the job done, it’s about getting it done without any mishaps, which is pretty much the best outcome you could ask for, right?
Personal Protection
When you’re working with car batteries, wearing the right personal protective gear is, quite frankly, non-negotiable. First off, grab some sturdy work gloves. These will protect your hands from battery acid, which is corrosive and can cause burns, so they're really important. You also want to make sure you have safety glasses or goggles on, because splashes of acid can easily get into your eyes, and that would be a very serious problem.
It’s also a good idea to wear old clothes, perhaps long sleeves and pants, that you don’t mind getting dirty or potentially stained. This just adds another layer of protection against any unexpected splashes. You know, just in case something happens. Keeping your hair tied back if it's long is also a smart move, as it prevents it from getting caught or touching anything it shouldn't, which could be dangerous.
Vehicle Safety
Before you even begin to think about how to remove a car battery, make sure your car is in a safe spot. Park it on a flat, stable surface, and remember to engage the parking brake firmly. This prevents the car from rolling or moving unexpectedly while you're working, which is a very simple but crucial step. You also want to turn off the engine and remove the keys from the ignition; this makes sure that no electrical systems are active, which could cause a spark.
It’s also wise to avoid working in an enclosed space, because batteries can release hydrogen gas, which is flammable. A well-ventilated area is always the best choice, perhaps outdoors or in an open garage. Keep any sources of open flame, sparks, or even cigarettes far away from the battery. You know, just to be super careful, as safety is really paramount here.
Gathering Your Tools and Materials
Having the right tools on hand before you start is going to make the job of how to remove a car battery so much smoother. There's nothing worse than being halfway through a task and realizing you need to stop and search for something, is there? So, take a moment to collect everything you'll need, and you'll be glad you did, honestly.
From "My text," we know it's good to "Find out what tools and materials you need," and that's exactly what we're going to do here. Being prepared means less frustration and a more efficient process overall, which is what we're aiming for. A little planning goes a long way, actually.
The Right Wrench
For battery terminals, you’ll typically need a wrench, and usually, a 10mm or 13mm open-end wrench or a socket wrench with the correct size socket will do the trick. Some battery terminals might use a different size, so it’s always a good idea to have a small set of wrenches or an adjustable wrench just in case. You want to make sure it fits snugly, so it doesn’t slip and potentially round off the bolt or cause a spark, which could be a bit of a problem.
Using an insulated wrench is also a very smart move, as it adds an extra layer of protection against accidental short circuits. This is especially true if you accidentally touch the wrench to another metal part of the car while it's still connected to the battery. Safety first, right? So, a good quality wrench is definitely on your list.
Battery Terminal Cleaner
You might find that your battery terminals have a bit of white or greenish crusty stuff on them, which is corrosion. A wire brush, specifically one designed for battery terminals, is perfect for cleaning this away. You can often find these brushes at any auto parts store, and they're really inexpensive, too. This cleaning step is important because corrosion can prevent good electrical contact, and it just makes everything look messy.
A battery terminal cleaner spray can also help dissolve stubborn corrosion, making the job a little easier. You know, sometimes that stuff is really stuck on there. Having these cleaning tools ready means you can prepare the area for your new battery, ensuring a much better connection when it's time to put everything back together, which is pretty important for a long-lasting battery.
Other Handy Items
Beyond the wrench and cleaner, there are a few other things that will make this job much simpler. A battery terminal puller can be incredibly helpful if the terminals are really stuck on, which they often are after years of use. It prevents you from having to yank on the cables, which could damage them or the battery itself, so it's a good investment.
You’ll also want a battery carrier or strap, because car batteries are surprisingly heavy, and they can be a bit awkward to lift. This tool helps you carry the battery safely without straining your back or dropping it, which would be a real mess. Some baking soda mixed with water can also be useful for neutralizing any spilled battery acid, just in case. And, of course, a clean rag or shop towel is always good to have nearby for wiping things down, which is just good practice.
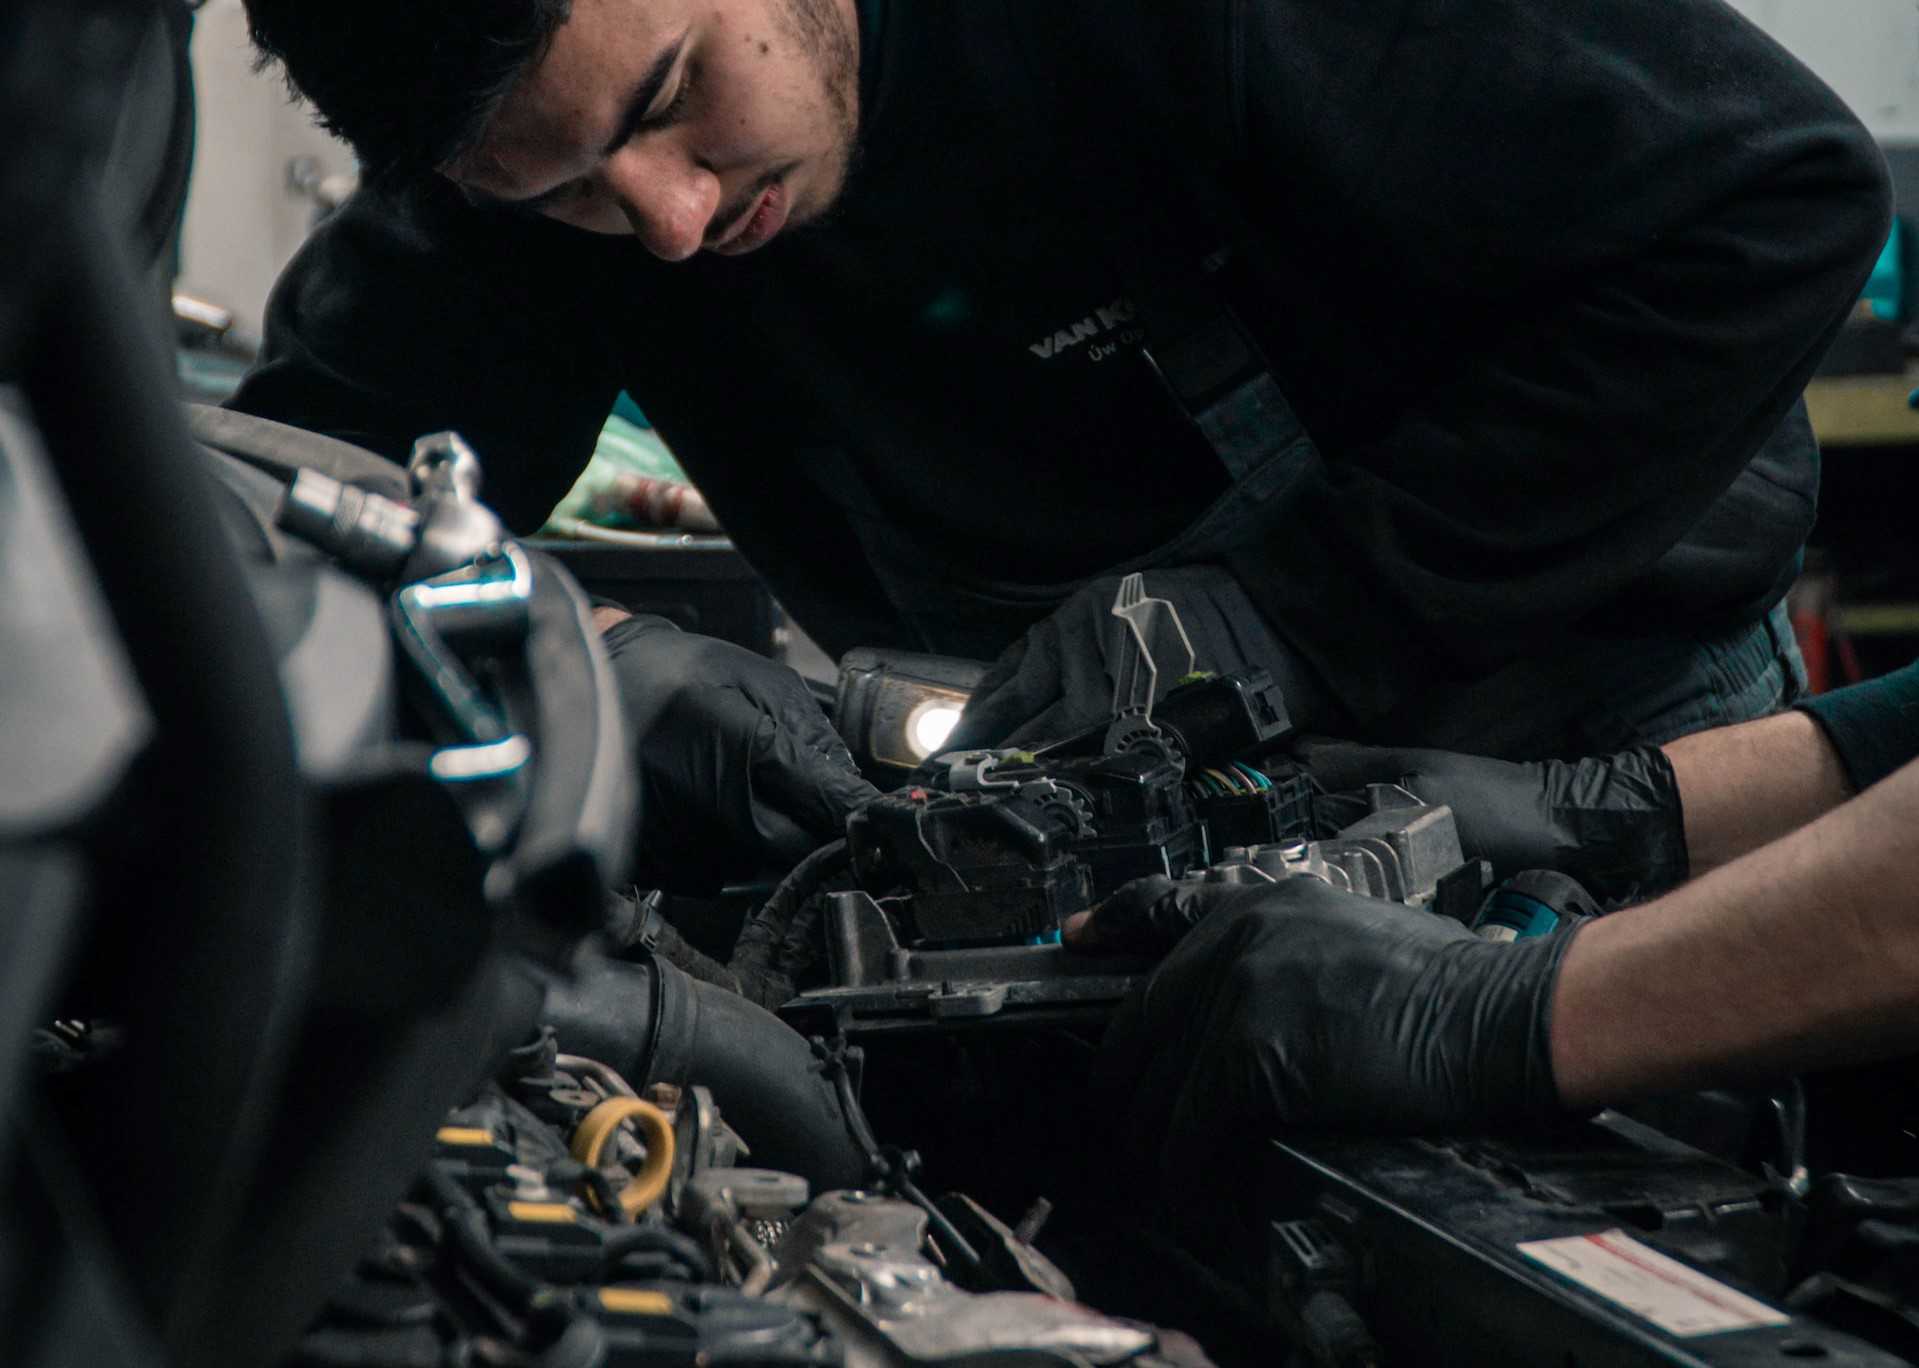
Step-by-Step Guide: How to Remove a Car Battery
Now that you’ve got all your safety gear on and your tools laid out, it’s time to actually get to the main event: how to remove a car battery. Following these steps carefully will help ensure a smooth and safe process, so pay close attention to the order of operations. It’s not just about taking things apart, it’s about doing it in a specific sequence to avoid any issues, you know?
From "My text," we know this guide will cover "steps to follow," and that's precisely what we're going to do. Taking your time and being methodical will make this job feel much less intimidating, which is really what we want. You've got this, just follow along.
Preparing Your Vehicle
First things first, make absolutely sure your car is turned off, the engine is cool, and the parking brake is engaged. Pop the hood open and locate your car battery. It’s usually pretty easy to spot, often near the front of the engine bay, but sometimes it might be in the trunk or under a seat, so just take a quick look. If there’s a battery cover, remove it now to get clear access to the terminals and the hold-down clamp.
It’s also a good idea to visually inspect the battery and the surrounding area. Look for any obvious signs of damage, leaks, or heavy corrosion. This quick check can give you an idea of what you’re dealing with and if there are any extra precautions you might need to take, like being extra careful with very corroded terminals, which can be a bit tricky.
Disconnecting the Negative Terminal
This is a super important step, and it’s always the first one you should take when learning how to remove a car battery. Locate the negative terminal, which is usually marked with a minus sign (-) and often has a black cable connected to it. Using your wrench, loosen the nut on the negative terminal clamp. You don't need to remove the nut completely, just loosen it enough so the clamp can be wiggled free from the battery post. You know, just enough to get it off.
Once it's loose, carefully twist and pull the negative cable clamp off the battery post. Make sure it doesn't touch any other metal parts of the car or the positive terminal, which is really important. Tuck the disconnected negative cable away from the battery, perhaps by securing it with a bungee cord or placing it in a way that it can't accidentally swing back and make contact. This prevents any accidental sparks or short circuits, which is a major safety consideration.
Disconnecting the Positive Terminal
Now that the negative terminal is safely disconnected, you can move on to the positive terminal. This one is typically marked with a plus sign (+) and usually has a red cable attached to it. Just like with the negative terminal, use your wrench to loosen the nut on the positive terminal clamp. Again, you just need it loose enough to slide off the post, not completely off, which is kind of the same process.
Carefully remove the positive cable clamp from the battery post. Be extra cautious not to let this cable touch any metal parts of the car, especially if the negative cable somehow managed to swing back and touch the battery. This is less likely if you secured the negative cable well, but it’s still something to be aware of. Once it's off, tuck this cable away from the battery as well, making sure it won't accidentally make contact with anything, which is a good habit to get into.
Removing the Battery Hold-Down
Most car batteries are secured in place by some sort of hold-down mechanism. This could be a clamp across the top, a strap, or bolts at the base of the battery tray. Locate this hold-down and use the appropriate tool to loosen or remove it. It might be another wrench, a screwdriver, or perhaps a ratchet with a specific socket. You know, it really depends on your car's make and model.
Make sure the battery is completely free from its securing device before you try to lift it out. Trying to force a battery out when it’s still partially secured could damage the battery, the hold-down, or even your car's battery tray, which would be a bit of a headache. Take your time with this step; it's just as important as disconnecting the terminals for a smooth removal.
Lifting Out the Battery
Once both terminals are disconnected and the hold-down is removed, the battery should be ready to be lifted out. Remember, car batteries are surprisingly heavy, so it’s really important to lift with your legs, not your back, to avoid injury. If you have a battery carrier or strap, now is the perfect time to use it; it makes the job much easier and safer, honestly.
Grip the battery firmly, using the carrier if you have one, and carefully lift it straight up and out of the battery tray. Be mindful of any surrounding components or cables in the engine bay as you lift, so you don't accidentally bump or damage anything. Once it's out, place the old battery on a stable, non-conductive surface, like a piece of wood or a plastic tray, away from your work area. This keeps it out of the way and prevents any accidental contact, which is just good practice.
What to Do Next (Cleaning and Installation)
After you’ve successfully figured out how to remove a car battery, you're more than halfway there! This is a great opportunity to do a little cleaning and prepare for your new battery. From "My text," we know it's important to "clean and install the new battery," and that's exactly what we'll focus on now. A clean area means a better connection and a longer life for your new battery, so it's really worth the effort.
Don't skip these steps; they really do make a difference in the overall performance and longevity of your car's electrical system. It's like preparing a good foundation for something important, you know? Taking these extra moments will pay off in the long run, actually.
Cleaning the Battery Tray and Terminals
With the old battery out of the way, take a good look at the battery tray. You might find some dirt, debris, or even some corrosion that has accumulated over time. Use your wire brush to scrub away any corrosion on the tray and on the battery cable clamps themselves. A mixture of baking soda and water can be very effective for neutralizing any acid residue; just apply it, let it fizz, and then rinse it off with a bit of clean water, which is a pretty simple solution.
Make sure the tray is completely dry before you place the new battery in. You also want to clean the inside surfaces of the battery cable clamps thoroughly, so they can make excellent contact with the posts of your new battery. Good contact is really important for efficient power transfer, and it helps prevent future corrosion, which is a common issue.
Installing Your New Battery
Now for the reverse process: installing your new battery. Carefully place the new battery into the cleaned battery tray, making sure it sits securely and doesn't wobble around. Reinstall the battery hold-down mechanism, tightening it just enough so the battery is firm but not so tight that you crack the battery casing, which can happen, so be gentle.
Next, connect the positive (+) terminal first. Slide the red cable clamp onto the positive post and tighten the nut firmly with your wrench. Then, connect the negative (-) terminal. Slide the black cable clamp onto the negative post and tighten that nut. Double-check both connections to make sure they are snug and secure. A loose connection can cause starting problems and even damage your car's electrical system, so it's really important to get this right. Learn more about car maintenance on our site for more helpful tips, and link to this page for even more details on battery replacement.
Common Questions About Car Battery Removal (FAQs)
When it comes to learning how to remove a car battery, people often have similar questions. We will also address common questions, as "My text" suggests, to help clear up any confusion you might have. Here are a few things people frequently ask, which might be on your mind, too.
1. What tools do I need to remove a car battery?
You'll typically need a wrench, often a 10mm or 13mm, to loosen the terminal clamps. A wire brush for cleaning corrosion, safety glasses, and work gloves are also essential for safety. A battery terminal puller and a battery carrier can be very helpful, too, making the job much easier, honestly.
2. What order do you disconnect battery terminals?
Always disconnect the negative terminal first, which is usually marked with a minus sign (-) and has a black cable. Then, disconnect the positive terminal, marked with a plus sign (+) and a red cable. This order is really important to prevent accidental sparks and short circuits, which is a major safety concern.
3. Is it safe to remove a car battery yourself?
Yes, it is generally safe to remove a car battery yourself, provided you follow all the safety precautions. Wearing protective gear, working in a well-ventilated area, and disconnecting the terminals in the correct order are key. If you're unsure or uncomfortable, it's always best to consult a professional, but for many, it's a straightforward DIY task, actually.
Troubleshooting and Tips
Even when you know how to remove a car battery, sometimes little things can pop up that make the job a bit more challenging. But don't worry, there are usually simple solutions. From "My text," we know it's good to "troubleshoot common issues" and "provide tips for ensuring your new battery is" installed correctly, so let's look at a couple of common hurdles and how to get past them, which is really helpful.
Having a few extra tricks up your sleeve can make all the difference, you know, especially when things don't go exactly as planned. These tips are designed to help you avoid common frustrations and make the whole process smoother, which is what we're aiming for.
Dealing with Corroded Terminals
If your battery terminals are heavily corroded, getting the clamps off can be a real struggle. Sometimes, that white or green crust is really stubborn. Don't force it too much, as you could damage the battery post or the cable. Try applying a generous amount of battery terminal cleaner spray or a paste made from baking soda and water to the corroded areas. Let it sit for a few minutes to work its magic, which often helps loosen things up.
Then, use your wire brush to scrub away the softened corrosion. You might need to repeat this a couple of times. A battery terminal puller can also be incredibly useful here, as it applies even pressure to lift the clamp without needing to yank on it. Patience is key when dealing with stubborn corrosion; just take your time, and it will come off, usually.
Ensuring a Snug Fit
After you've installed your new battery and tightened the terminals, give them a gentle wiggle to make sure they are really snug. A loose connection can cause intermittent starting problems, dim lights, and can even generate heat, which is not good for your electrical system. If they feel even slightly loose, tighten the nuts a little more, but be careful not to overtighten, as this can strip the threads or crack the battery posts, which is a bit of a problem.
You can also apply a thin layer of anti-corrosion grease or a battery terminal protector spray to the newly connected terminals. This helps prevent future corrosion and ensures a good, long-lasting connection, which is really what you want for your new battery. It’s a small step that can make a big difference in the battery's lifespan and your car's reliability, honestly.
For more detailed information on car battery maintenance and safety, you can check out resources like Battery Council International, which offers valuable insights into proper battery handling and care.
- Is Michael Jackson Still Alive
- Good Morning In Italian
- Remoteiot Vpc Ssh Windows 10 Without
- How To Measure Inseam
- La La Land Cafe

3 Ways to Remove Car Battery Terminals - wikiHow

How to remove car battery? 2022 - Auto Gear Up
How to Remove Car Battery Corrosion | Veteran Car Donations
