Simple Ways To Press Flowers: Your Guide To Preserving Nature's Beauty
Imagine holding onto a moment, a memory, a feeling, long after a fresh flower fades. That, in a way, is the quiet magic of learning how to press flowers. It is a gentle art, a way to keep a piece of nature's fleeting beauty with you for much longer. You know, a pressed flower can bring a smile, even years later, reminding you of a special day or a lovely garden visit.
When we talk about how to press flowers, we are really talking about a process that involves a bit of careful effort. The word "press," as you might know, can mean to apply steady pressure on something, to squeeze or compress it so its shape changes. That, is that, exactly what we do with flowers, we apply weight to them, making them flat and dry. This technique helps preserve their delicate forms, allowing us to enjoy them in a whole new way.
This guide will walk you through the steps, making it easy for anyone to try. We will look at different methods, talk about which flowers work best, and share ideas for what you can make with your beautiful flattened blooms. So, get ready to transform fresh flowers into lasting keepsakes, bringing a touch of the outdoors inside your home.
- How Tall Is Benson Boone
- Is Michael Jackson Still Alive
- Visual Kei Dress To Impress
- Fast And Furious Suki
- Taco Bell Steakhouse Burrito
Table of Contents
- What is Flower Pressing?
- Why Press Flowers?
- Choosing Your Blooms for Pressing
- Gathering Your Flowers
- Preparing Your Flowers for the Press
- Methods for Pressing Flowers
- The Pressing Process: General Tips
- Common Challenges and Their Solutions
- What to Do with Your Pressed Flowers
- Frequently Asked Questions About Pressing Flowers
- Your Next Steps in Flower Pressing
What is Flower Pressing?
Flower pressing is a time-honored practice of taking fresh flowers and removing their moisture content. This is done by placing them under weight. The idea, you see, is to flatten them out completely, making them dry and paper-thin. This method, actually, helps keep their natural colors and shapes for a very long time.
The act of pressing, as we discussed, involves applying steady pressure. It is about pushing something firmly, often without causing it to move permanently further away from you. You are, in essence, squeezing the flower. This changes its shape and helps it dry out. This simple action turns a fresh bloom into a lasting piece of art.
Why Press Flowers?
There are many lovely reasons why someone might want to learn how to press flowers. For many, it is a way to hold onto special memories. Think of a flower from a wedding bouquet, a first date, or a garden you love. Pressing it makes that memory last, more or less, in a physical form.
- Red Hair Big Boobs
- Brooke Monk Leaked Nudes
- How Old Is North West
- Best Remoteiot Vpc
- Fruit Of The Loom Cornucopia
People also enjoy pressing flowers for creative projects. They can become beautiful additions to greeting cards, bookmarks, or framed art. It is a way to bring natural elements into your home decor. Plus, it is a rather calming hobby, offering a quiet moment to connect with nature.
Furthermore, it is a very satisfying craft. Watching a fresh flower transform into a delicate, dried specimen is quite rewarding. It is a simple joy, really, that anyone can experience. This process allows you to keep a bit of spring or summer with you all year long.
Choosing Your Blooms for Pressing
Picking the right flowers is a big part of successful pressing. Some flowers work much better than others. Generally speaking, blooms with naturally flat shapes or those with single layers of petals are easier to press. Think of violas, pansies, or daisies, for example. These types of flowers tend to dry nicely and keep their color.
Flowers with thin petals and less moisture content are also a good choice. Lavender sprigs, fern fronds, and thin leaves can also press beautifully. They dry quickly and usually hold their form well. You know, these are often the ones that give the best results.
On the other hand, flowers with thick centers or many layers of petals can be a bit more challenging. Roses, for instance, can be pressed, but you might need to remove some of their bulk first. Lilies or orchids, with their fleshy petals, often do not press as well. They can sometimes turn brown or mold before they fully dry. So, choosing wisely helps a lot.
Gathering Your Flowers
The best time to gather flowers for pressing is when they are fresh and dry. This usually means picking them in the late morning, after any dew has evaporated. You see, moisture on the petals can cause problems like mold during the pressing process. So, dryness is quite important.
Look for flowers that are fully open but not past their prime. Blooms that are just beginning to fade might not keep their color as well. Also, try to pick flowers that have not been treated with pesticides, especially if you plan to use them for decorative items that might be near food. Always be gentle when you pick them, to avoid damaging the petals or stems.
Once you have gathered your flowers, it is a good idea to press them as soon as you can. The fresher they are, the better they will look once pressed. If you cannot press them right away, keep them in a cool, dry place for a short time. This helps them stay in good shape until you are ready to start the pressing process.
Preparing Your Flowers for the Press
Before you place your flowers into any press, a little preparation goes a long way. This step is rather important for getting good results. First, gently brush off any dirt or small insects from the petals and leaves. You can use a soft, dry paintbrush for this. Remember, any extra bits will show up once the flower is flat.
Next, you might need to trim your flowers. Remove any unwanted leaves or thick parts of the stem. For flowers with a bit more bulk, like a small rosebud, you can carefully cut it in half lengthwise. This helps it flatten more easily and dry faster. For single-layer flowers, you may just need to snip the stem to a suitable length.
Finally, arrange your flowers on the pressing surface. Think about how you want them to look when they are flat. You can spread out petals, arrange leaves, or even cut a flower to show its inner parts. This is your chance to shape the final appearance of your pressed bloom. Make sure no petals are folded or bunched up, as this will show in the finished piece.
Methods for Pressing Flowers
There are several ways to press flowers, each with its own benefits. You can choose a method that fits your schedule and the materials you have at hand. All methods, however, rely on applying steady pressure and removing moisture. That, is the core idea, after all.
The Classic Book Method
Using a heavy book is perhaps the most well-known way to press flowers. It is simple, affordable, and quite effective. You will need a large, heavy book, like a phone book or a dictionary. Very, very thick books work best. This method is great for beginners, you know.
To begin, open your chosen book to a page somewhere in the middle. Place a piece of absorbent paper, such as parchment paper, newspaper, or coffee filters, on the page. This paper will help soak up the moisture from your flowers. Then, arrange your prepared flowers on this absorbent paper, making sure they do not touch each other.
Next, place another piece of absorbent paper on top of your flowers. Carefully close the book, making sure the flowers stay flat. You might want to add more heavy books on top of the first one to increase the pressure. Leave the flowers to press for about two to four weeks. Check them periodically, perhaps changing the absorbent paper after the first week, especially if they are very moist. This helps prevent mold and speeds up the drying process. So, patience is rather important here.
Using a Traditional Flower Press
A traditional flower press is a tool specifically made for this craft. It consists of two boards, usually wood, with bolts and nuts at each corner. Between the boards, you layer cardboard and absorbent paper. This setup allows for very even and consistent pressure, which is good, you know.
To use one, loosen the nuts and remove the top board. Place a piece of cardboard on the bottom board, then a sheet of absorbent paper. Arrange your flowers on the paper, leaving some space between each one. You can press many flowers at once with this tool, which is pretty handy.
Add another layer of absorbent paper on top of your flowers, then a piece of cardboard. You can repeat these layers, creating several levels of flowers within the press. Once all your flowers are in place, put the top board back on. Tighten the nuts evenly and firmly, applying steady pressure. This, in a way, is the essence of pressing.
Leave your flowers in the press for about two to four weeks. Just like with the book method, checking them after the first week and changing the absorbent paper can be a good idea. This helps ensure they dry well and keep their vibrant colors. A flower press, you will find, gives very reliable results.
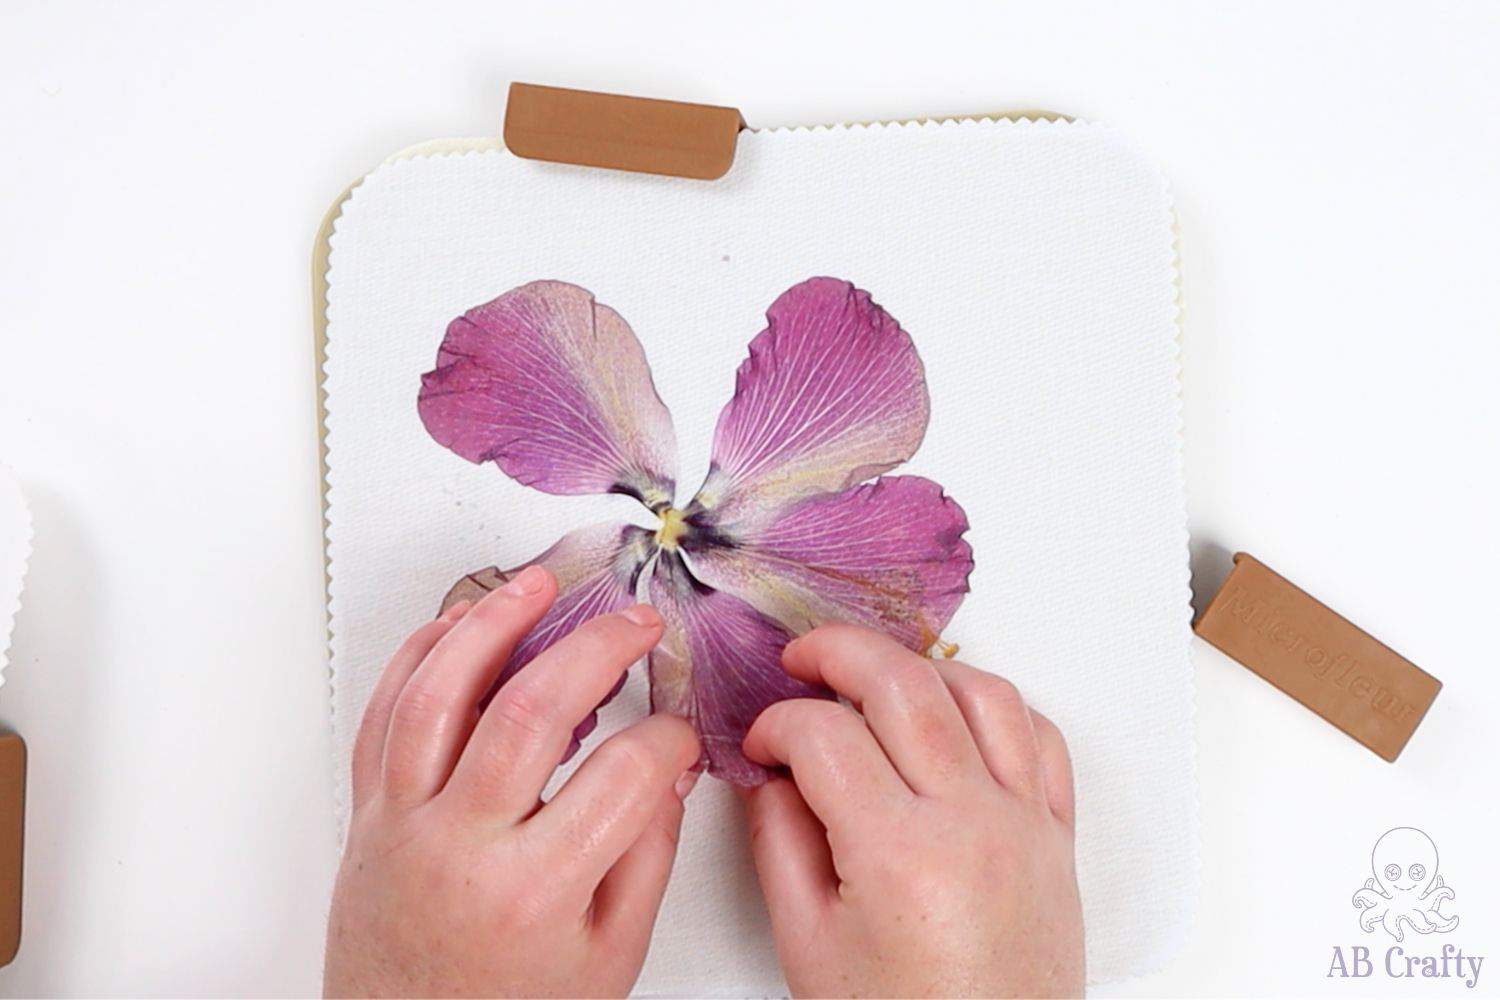
Quick Microwave Pressing
If you are looking for a faster way to press flowers, the microwave method might be for you. This technique uses heat to speed up the drying process, reducing the time from weeks to just minutes. You will need a microwave-safe plate, two ceramic tiles, and some paper towels or plain paper. You know, it is surprisingly effective.
First, place a paper towel or plain paper on a ceramic tile. Arrange your flowers on the paper, making sure they do not overlap. Place another paper towel or paper on top of the flowers, then the second ceramic tile. This creates a small pressing "sandwich." This, you see, helps distribute the heat evenly.
Put this assembly into your microwave. Heat on a low setting for 30-second intervals. After each interval, check your flowers. They should feel dry and stiff. Be careful not to overheat them, as this can cause them to scorch or lose color. It might take a few rounds, depending on the flower's thickness. This method is rather quick, but it does need your close attention.
Ironing Your Flowers
Another quicker method involves using a household iron. This is also good for those who do not want to wait weeks. You will need an iron, a heavy book, and some plain paper or parchment paper. This method, too, uses heat to dry the flowers, much like the microwave. It is a bit more hands-on, actually.
Place your prepared flowers between two sheets of plain paper. Then, put a heavy book on top of this paper sandwich for about 10 minutes. This helps to flatten the flowers a bit before you apply heat. It is a preliminary press, you could say.
After the initial flattening, remove the book. Set your iron to a low, dry setting – no steam. Gently press the iron onto the top sheet of paper, holding it down for about 10 to 15 seconds. Lift the iron, let the paper cool for a moment, and then press again. Repeat this process until the flowers feel completely dry and stiff. This might take several rounds, so take your time. You know, patience is key even with faster methods.
The Pressing Process: General Tips
No matter which method you choose, a few general tips can help you get the best results. Always pick flowers that are fresh and free of moisture. This really is the most important first step. Any dampness can lead to mold, which, you know, spoils your efforts.
Use absorbent paper that is plain and untextured. Newsprint, blotter paper, or even coffee filters work well. Avoid glossy paper, as it does not absorb moisture effectively. Changing the paper after the first few days can also help, especially for thicker flowers, as it removes the initial burst of moisture.
Be gentle when handling your flowers, both before and after pressing. They become quite delicate once dry. Also, make sure to apply even pressure across the entire flower. Uneven pressure can lead to some parts drying well and others not so much. This, in some respects, is about being consistent.
Common Challenges and Their Solutions
Sometimes, things do not go exactly as planned when you are learning how to press flowers. One common issue is flowers turning brown or losing their color. This often happens if the flowers were not fresh to begin with, or if they dried too slowly. To avoid this, pick vibrant flowers and use plenty of absorbent paper. You know, speed of drying helps a lot.
Another problem can be mold. This usually occurs when there is too much moisture in the flowers or the pressing environment. To prevent mold, make sure your flowers are completely dry before pressing. Change the absorbent paper often, especially in the first few days. A bit of air circulation, if possible, also helps. This, actually, is quite important.
Sometimes, flowers can stick to the paper. This often happens if the paper is not absorbent enough or if the flowers were too wet. Using parchment paper as a barrier between the flower and the absorbent paper can help. Also, make sure the flowers are fully dry before trying to remove them. Gently lifting them with tweezers can prevent tearing. Learn more about flower care on our site.
What to Do with Your Pressed Flowers
Once your flowers are beautifully pressed and dry, a whole world of creative possibilities opens up. They are, you know, perfect for making personalized greeting cards. Just glue them onto cardstock for a lovely, handmade touch. This adds a very personal feeling to any message.
You can also use them to create framed art. Arrange your pressed flowers on a piece of paper or cardstock, then place them in a picture frame. This makes for a beautiful and unique wall decoration. They look quite charming in a simple frame, really.
Bookmarks are another popular project. Laminate pressed flowers between two pieces of clear contact paper or use a laminator. This protects them and makes a thoughtful gift. You know, a pretty bookmark makes reading even more enjoyable.
Consider making decorative candles or soaps. You can carefully attach pressed flowers to the outside of plain candles using a little craft glue, then seal them with a thin layer of wax. For soaps, embed them in clear glycerin soap. This adds a natural, rustic charm. For more inspiration, you can link to this page pressed flower craft ideas.
You might also use them in resin art. Pressed flowers look stunning suspended in clear resin to create jewelry, coasters, or paperweights. This method protects them completely and makes them very durable. The possibilities, you will find, are almost endless once you have a collection of pressed blooms.
Frequently Asked Questions About Pressing Flowers
What flowers are best for pressing?
Flowers that are naturally flat or have thin petals work very well. Think of pansies, violas, daisies, and single-petal roses. Ferns and thin leaves also press beautifully. They tend to dry quickly and keep their color, which is a big plus, you know.
How long does it take to press flowers?
The time it takes depends on the method you use. With a heavy book or a traditional flower press, it usually takes about two to four weeks. Faster methods, like using a microwave or an iron, can dry flowers in just minutes or hours. So, it really varies, you see.
Can you press flowers in a book?
Yes, absolutely! Pressing flowers in a heavy book is one of the most common and easiest methods. You place the flowers between absorbent paper inside the book, then add more weight on top. It is a classic way to do it, and it works quite well, you know.
Your Next Steps in Flower Pressing
Now that you have learned the basics of how to press flowers, it is time to give it a try. Pick a sunny day, gather some fresh blooms, and choose your preferred method. This, you will find, is a rewarding way to connect with nature and create something lasting. You know, every pressed flower holds a little piece of time.
Do not be afraid to experiment with different types of flowers and various pressing techniques. Each flower might react a little differently, and that is part of the fun. Share your creations with others, or simply enjoy them in your own space. This simple craft, in a way, brings beauty and calm into your everyday. For more ideas and tips, you can visit a reputable gardening site like The Royal Horticultural Society.
- Wasmosomali
- Jennifer Hudson And Common
- Jason Luv Eva Elfie
- Disney World Annual Pass
- Bhad Bhabie Net Worth

How to Press Flowers: A Complete Guide for Beginners
How to Press Flowers in Minutes | Microwave Flower Press - AB Crafty

How to Press Flowers: A Complete Guide for Beginners
