Mastering Your Look: How To Cut Curtain Bangs At Home
Today, we're going to talk about something really exciting: learning how to cut curtain bangs yourself. These bangs have, frankly, become super popular over the past few years, and it's easy to see why they’re everywhere. They offer a soft, face-framing effect that just about anyone can pull off, adding a touch of effortless style to your appearance. So, if you've been thinking about getting this look, but you're not quite sure where to begin, well, you've definitely come to the right spot.
Are you tired of making the trip and paying the money to go to a salon just to have your bangs trimmed? It's a common feeling, and it can really add up, both in terms of time and cost. What if you could skip those appointments and achieve a salon-worthy result right in your own bathroom? You can, in fact, start saving time and money now by cutting your bangs yourself, and it's actually more straightforward than you might imagine.
This tutorial is a DIY cutting guide for curtain bangs, designed to give you the confidence and the skills you need. If you think you’re ready to take matters into your own hands, we’ll show you how to cut curtain bangs like a pro, without completely botching them. We're going to walk you through everything you need to know about this simple hair update, from determining the most flattering length to properly handling your tools, so you can fall in love with modern curtain bangs.
- Hawaiian Bros Island Grill
- Boston Marriott Copley Place
- Green Tea Shot Recipe
- Zack De La Rocha
- What Is A Sapiosexual
Table of Contents
- Why Curtain Bangs Are So Popular Right Now
- Getting Ready: What You'll Need
- Your Step-by-Step Guide to Cutting Curtain Bangs
- Styling Your Fresh Curtain Bangs
- Keeping Your Bangs Looking Great
- What If Things Don't Go Exactly as Planned?
- Frequently Asked Questions About Cutting Curtain Bangs
Why Curtain Bangs Are So Popular Right Now
Curtain bangs have, for quite some time now, really captured everyone's attention, and for some very good reasons. They offer a softness around the face that many other bang styles simply don't provide. This style, in a way, frames your features without being too heavy or completely covering your forehead, which is why they are often seen as a rather versatile choice for many different face shapes and hair textures. They grow out gracefully, too, which is a major plus, meaning you don't have to worry about awkward stages between trims.
This simple method to update your appearance has a certain charm. It's a look that feels both retro and modern, drawing inspiration from the '60s and '70s, but with a fresh twist that makes it relevant for today. People are, in fact, drawn to their ability to soften angles and add a touch of romance to any hairstyle. It's a way to change your look without making a drastic commitment, which is, honestly, a pretty appealing idea for a lot of people.
Getting Ready: What You'll Need
Cutting curtain bangs at home can be a fun and rewarding experience if you prepare properly. Having the right tools and getting your hair ready is, arguably, half the battle. This section will guide you through the necessary steps to ensure you’re set up for success, and it's really important to get this part right before you pick up any scissors, you know?
- Susan Mikula Photography
- How To Draw A Bear
- What Happened To Rachael Ray
- Red Hair Big Boobs
- Kevin Leonardo Nair Video
Your Tools
Before you even think about making a cut, gathering your supplies is, basically, the first thing to do. You'll need a few specific items to make sure your DIY curtain bangs come out looking great. First, a pair of sharp hair-cutting scissors is absolutely essential; kitchen scissors or craft scissors just won't do, as they can cause split ends and an uneven cut. Second, a fine-tooth comb will help you part and section your hair with precision. You'll also want a couple of hair clips or hair ties to keep the rest of your hair out of the way, which is, honestly, a very simple but often overlooked detail.
A hand mirror and a larger wall mirror can be incredibly helpful, too, allowing you to see your work from different angles. Some people also like to have a spray bottle filled with water, just to slightly dampen the hair if it starts to dry out during the process. And, of course, a good quality hair dryer and a round brush will be useful for styling your new bangs once they're cut. Having all these items ready beforehand means you won't have to stop mid-cut to search for something, which, as a matter of fact, really helps keep things smooth.
Hair Prep
Getting your hair ready is, frankly, just as important as having the right tools. You want to start with clean, dry hair. While some people prefer to cut bangs when their hair is slightly damp, for curtain bangs, cutting them dry usually gives you a more accurate idea of how they will fall naturally. This is because hair behaves differently when wet versus dry, and you want to avoid cutting them too short when they shrink up after drying, which is, basically, a common mistake people make.
Make sure your hair is brushed through and free of any tangles. This allows for clean sections and an even cut. If you have any products in your hair, like hairspray or styling creams, it's a good idea to wash them out first. You want your hair to be in its most natural state, so you can truly see its texture and how it lays. This simple preparation step, you know, really sets the stage for a successful haircut and helps you achieve the look you're going for.
Your Step-by-Step Guide to Cutting Curtain Bangs
Now, this is where the fun really begins! We’re going to teach you step by step how to part, section, cut, and point cut your way to those modern curtain bangs you’ve been dreaming about. With a keen eye and a steady hand, there are some steps you can follow to achieve a great result. This expert guide will walk you through everything, so you can learn a new haircut with this simple hair tutorial. It’s, honestly, pretty exciting to do something like this for yourself.
Finding Your Perfect Part
The first step in cutting curtain bangs is, arguably, finding your natural part. This is where your hair naturally separates, and it's really important because it will determine how your bangs fall. Use your fine-tooth comb to create a clean, central part. You want this part to extend a few inches back from your hairline, forming a triangle shape at the front of your head. The base of this triangle, more or less, sits at your hairline, and the point goes back towards the crown of your head. This section of hair is what will become your bangs, so getting this right is, you know, pretty essential.
Once you've established your central part, take a moment to look at it in the mirror. Is it straight? Does it feel natural? This initial parting is, basically, the foundation for your entire bang cut, so take your time with it. You might find that your hair naturally favors a slightly off-center part, and that's perfectly fine; just make sure it's consistent. This careful attention to detail at the very beginning will, in fact, make a big difference in the final outcome of your curtain bangs.
Sectioning Your Hair Just Right
With your part established, the next thing you'll do is section the hair that will become your bangs. This haircut tutorial will show you how to section hair and create perfect curtain bangs. You'll want to isolate the hair from the front of your head, making sure the rest of your hair is pulled back and secured with clips or ties. To do this, imagine a line extending from the arch of each eyebrow up to your central part. These two lines will form the sides of your bang section, creating that triangular shape we talked about earlier, which is, honestly, a key part of the process.
Use your comb to carefully separate this triangular section of hair from the rest. The width of this section will determine how full your curtain bangs are, so you can adjust it slightly based on your preference. Once you have this section isolated, give it another comb-through to make sure it's smooth and free of any tangles. This clean sectioning is, frankly, what allows for a precise and even cut, so take your time to get it just right. It's, in a way, like preparing a canvas before painting, you know?
Making the First Cut
Now for the actual cutting part, which can feel a little bit scary at first, but don't worry. This is where we'll really get into how to cut curtain bangs without completely botching them. Take your isolated section of hair and bring it forward, directly in front of your face. You'll want to hold it between your index and middle fingers, pulling it taut. The key here is to cut this section while it's in the middle, rather than trying to cut each side separately, which can lead to unevenness. We're going to cut this hair at an angle, creating that signature curtain bang shape. You're aiming for a length that falls somewhere between your cheekbones and your chin, which is, typically, a very flattering starting point.
To make the first cut, position your scissors diagonally, pointing downwards towards the opposite side of your face. For example, if you're cutting the hair on the left side of your face, your scissors should point towards the right. Make a slow, controlled cut. Remember, you can always cut more hair off, but you can't put it back on, so it's better to start longer and trim more if needed. This initial cut is, basically, about establishing the overall length and angle of your bangs, and it's a very important step in achieving that soft, sweeping look. Repeat this for the other side, bringing the hair to the center and cutting at the same angle, just in the opposite direction, which is, honestly, pretty straightforward.
Refining with Point Cutting
Once you've made your initial cuts, your bangs will have a general shape, but they might look a little bit blunt. This is where point cutting comes in, and it's a technique that will really make your curtain bangs look natural and soft. Point cutting involves holding your scissors vertically and snipping into the ends of your hair, rather than cutting straight across. This technique removes bulk and creates a softer, more blended edge, which is, truly, what gives curtain bangs their effortless feel.
Take small sections of your newly cut bangs and hold them out from your face. With your scissors pointing upwards, make tiny snips into the very ends of the hair. You're not trying to remove a lot of length here, just soften the line. Work your way across both sides of your bangs, paying attention to how the hair falls. This step, you know, helps to blend the bangs into the rest of your hair and gives them that feathery, lived-in look. It’s a bit like sculpting, really, and it’s a crucial part of making your DIY curtain bangs look professional. With this technique, you'll learn how to point cut and fall in love with modern curtain bangs.
Styling Your Fresh Curtain Bangs
Now that you've cut your curtain bangs, the next step is, frankly, learning how to style them so they look their best. The way you dry and shape them can make all the difference in achieving that perfect, face-framing swoop. You'll typically want to start with damp bangs, using a round brush and a hairdryer. This bang tutorial is a great way to change your styling routine, too. The goal is to create volume at the root and encourage the hair to sweep away from your face.
To style, take your round brush and place it under a section of your bangs, lifting it up and back. Direct the heat from your hairdryer onto the bangs, following the curve of the brush. As you dry, gently roll the brush outwards, away from your face. This motion helps to create that signature, open-curtain effect. You can also try drying them forward first, then splitting them down the middle and sweeping them out with the brush. This technique, you know, really helps to give them that bouncy, effortless look that everyone loves. A little bit of light-hold hairspray can also help keep them in place throughout the day, which is, honestly, a very practical tip for many people.
Keeping Your Bangs Looking Great
Maintaining your new curtain bangs is, more or less, about consistent care and knowing when to give them a little touch-up. Because they are designed to be a bit longer and more grown-out, they don't require super frequent trims like blunt bangs might. However, as they grow, you'll notice them starting to fall into your eyes or lose their shape. That's your cue for a quick trim, which you can now, arguably, handle yourself with confidence.
Between trims, a good dry shampoo can be your best friend, especially if your bangs tend to get oily quickly. Just a quick spritz at the roots can refresh them and add a bit of volume. Also, try to avoid touching your bangs too much throughout the day, as the oils from your hands can make them look greasy. With proper care and occasional trims, your curtain bangs will, honestly, continue to look fresh and stylish for a good long while. Learn more about hair styling on our site for even more tips.
What If Things Don't Go Exactly as Planned?
Even with the best instructions and the steadiest hand, sometimes things don't turn out exactly as we pictured, and that's perfectly okay. If your curtain bangs end up a little shorter than you wanted, or perhaps a bit uneven, don't panic. Hair grows back, and there are always ways to work with what you have. For bangs that are too short, you can try styling them with headbands or clips to push them back, allowing them to grow out gracefully. A little bit of styling product can also help to smooth them down and blend them with the rest of your hair, which is, frankly, a very simple fix.
If they're uneven, you can, arguably, try to carefully trim the longer side to match the shorter one, but if you're feeling unsure, it might be best to visit a professional stylist. They can usually fix minor cutting mishaps and give you some tips for future DIY attempts. Remember, cutting your own hair is a skill that improves with practice, so don't be discouraged by a less-than-perfect first try. This experience, you know, is all part of the learning process. Explore more bang trends for inspiration on your next look.
Frequently Asked Questions About Cutting Curtain Bangs
Many people have questions when they're thinking about cutting their own curtain bangs. Here are some common inquiries that might help you feel more prepared for this hair adventure.
How do you cut curtain bangs for the first time?
For your very first time, it's really important to start with dry, clean hair. Section a triangle of hair from your central part, extending to the arches of your eyebrows. Pull this section forward and cut it diagonally, aiming for a length between your cheekbones and chin. Always cut less than you think you need, because you can always take more off. Then, use point cutting to soften the edges, which is, honestly, a key step for that natural look. For more detailed steps, refer to our guide above, it's all there.
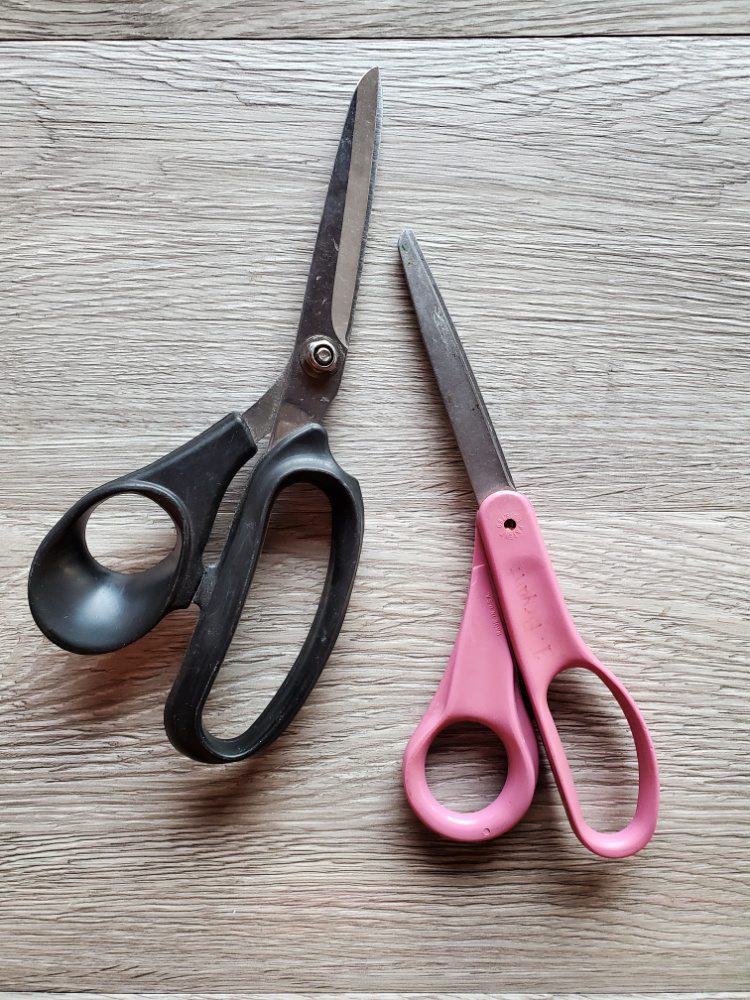
What kind of scissors do you use to cut curtain bangs?
You should, absolutely, use sharp hair-cutting scissors. These are designed specifically for hair and will give you a clean, precise cut without damaging your strands. Regular kitchen or craft scissors are not suitable, as they can cause split ends and make your bangs look frayed. Investing in a good pair of hair scissors is, frankly, a very smart move if you plan to do any at-home trims, and you can find them at most beauty supply stores or online, which is, basically, pretty convenient.
How do you cut curtain bangs so they are not too short?
The secret to avoiding bangs that are too short is, honestly, to start long. When you make your initial cut, aim for a length that feels a bit longer than you think you want, perhaps around your chin or just below your cheekbones. You can then slowly trim small amounts until you reach your desired length. Always remember that hair tends to spring up a little bit when it's dry, so account for that. Cutting them dry also helps you see the true length. This cautious approach, you know, really helps prevent any regrets about taking too much off. For more hair care wisdom, check out this resource.
- Sophie Rain Spiderman Video Tutorial
- How To Fake Sick
- Kelsey Chow Movies And Tv Shows
- French Pole Vaulter Video
- Translate The Correct Sentences From Exercise 2 Into Your Language
Tools and Tips to Help You Cut Paper Use - United Business Systems
How to Cut Carrots - Chefjar
Your guide to making the cut!
