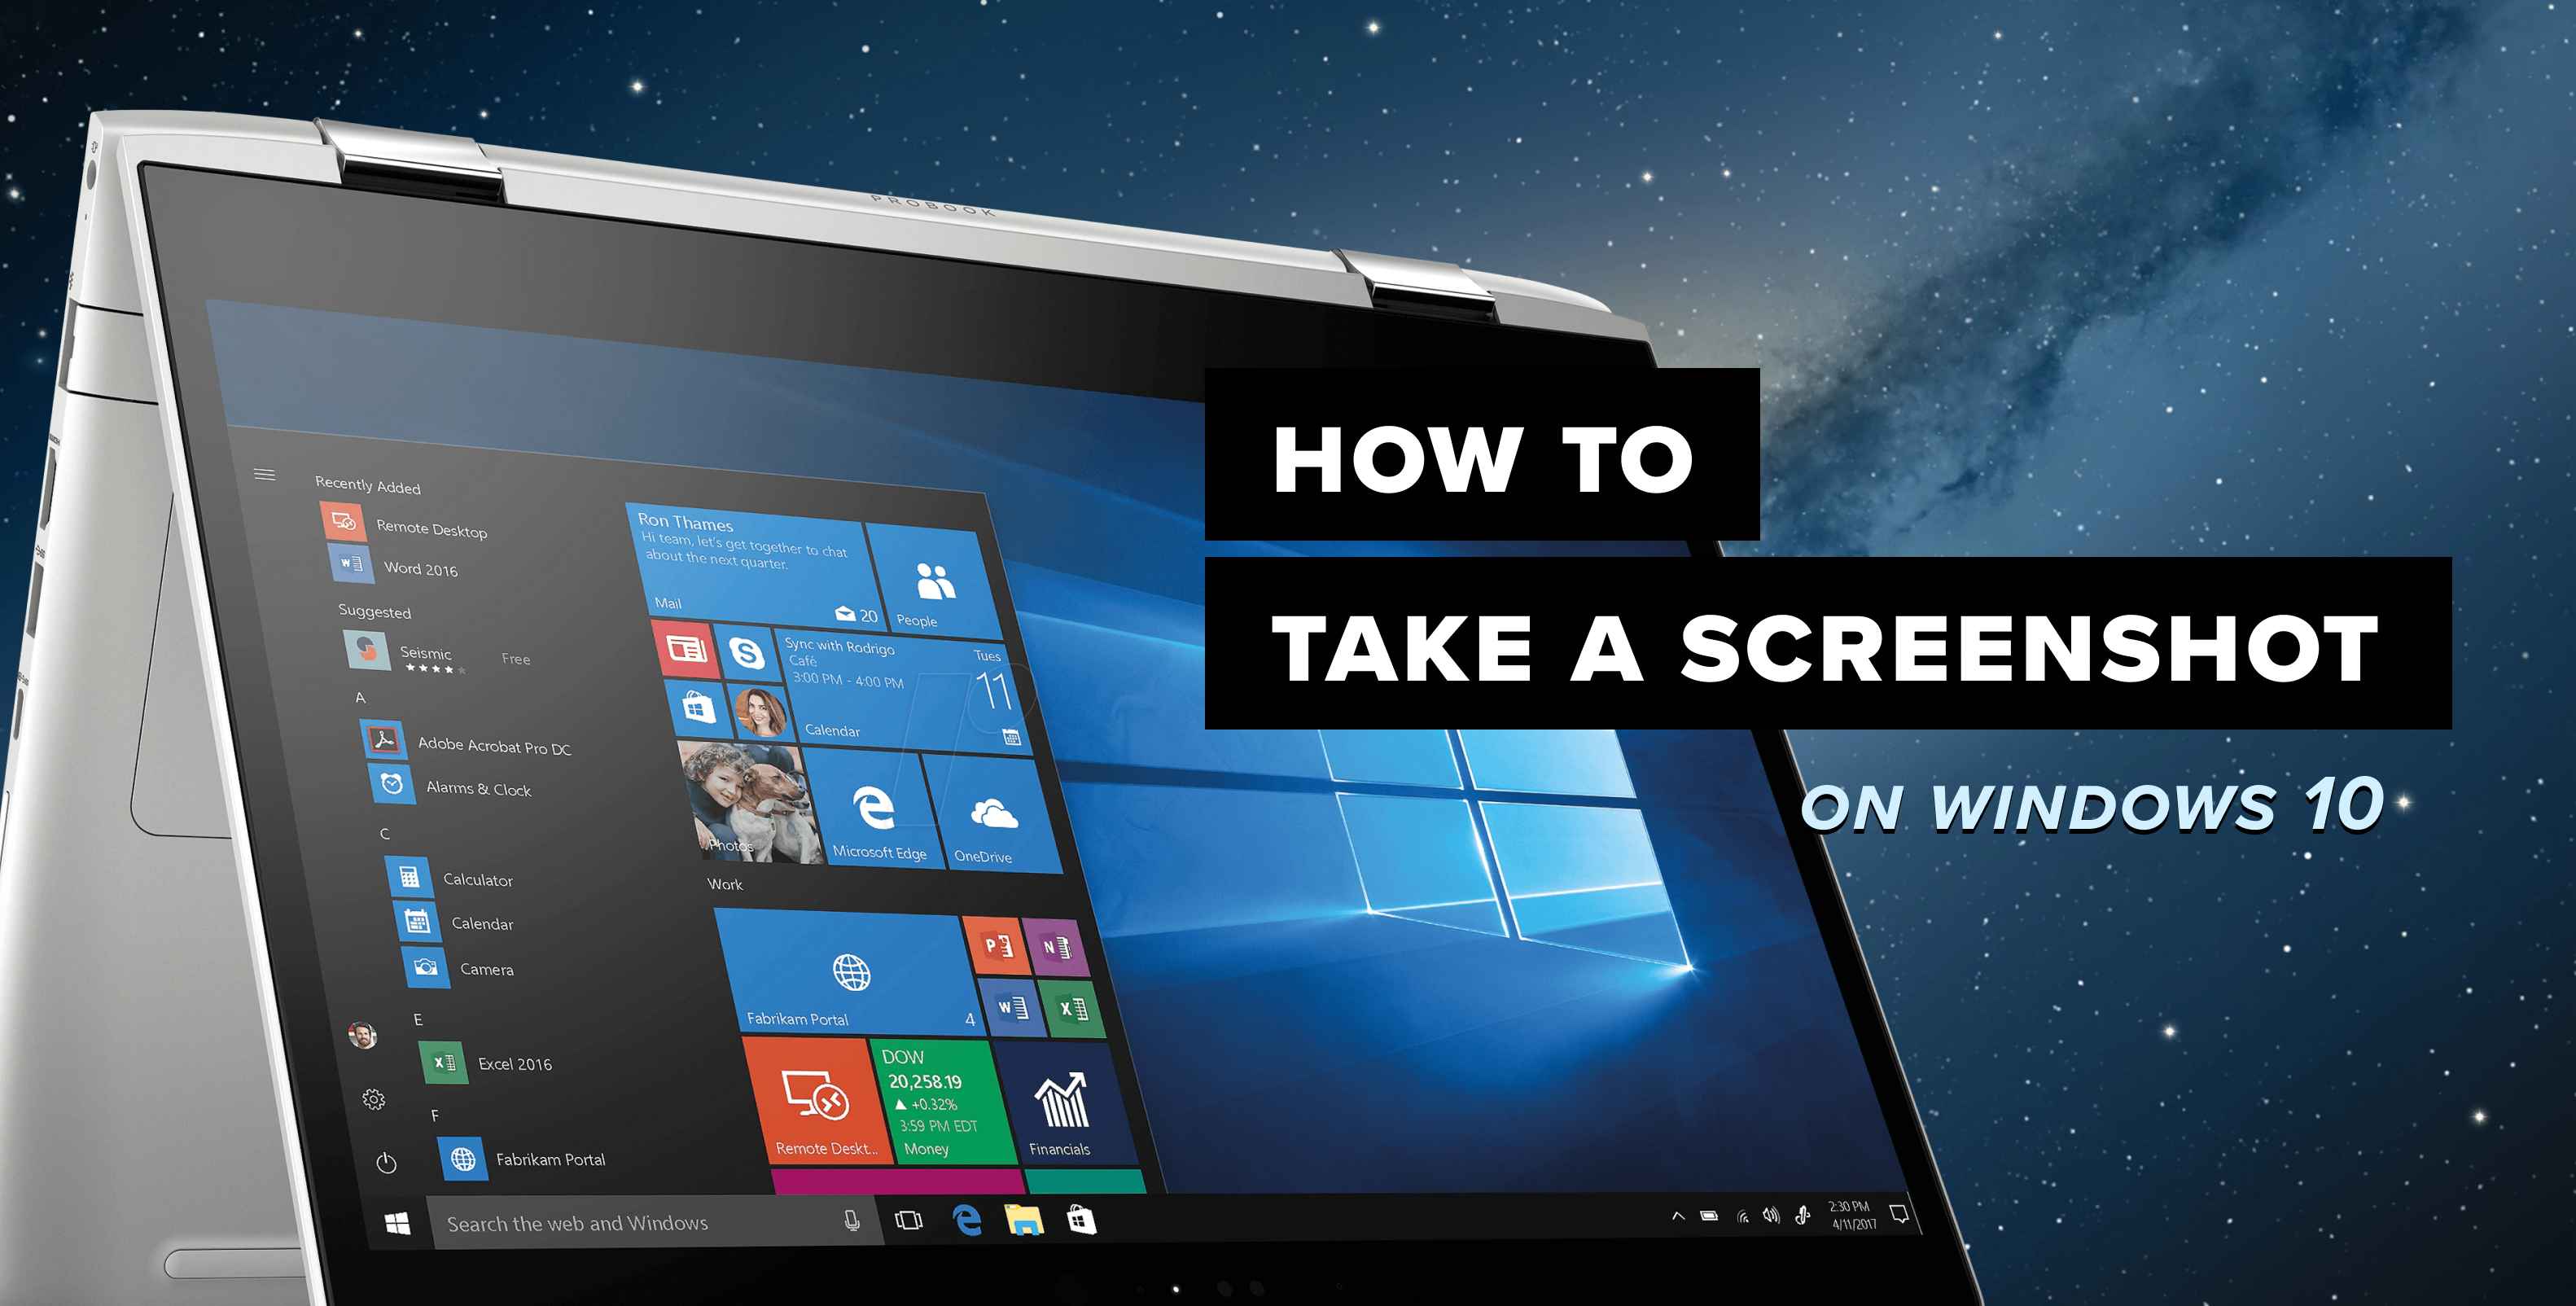
How To Screen Shot On PC: Your Simple Guide For Windows 10 & 11
Ever needed to show someone exactly what you see on your computer screen? Maybe you want to save a funny chat, a piece of information from a website, or perhaps a moment from a video call. Well, getting a picture of your screen, a "screenshot," is actually a really useful skill for anyone who uses a computer, so. It helps you share visual things quickly and without much fuss. You might think it's a bit tricky, but it's quite simple once you know the right steps, you know.
Luckily, if you're using a Windows computer, whether it's Windows 10 or Windows 11, there are a bunch of straightforward ways to capture what's on your display. These methods are built right into your system, making it easy for everyone to use them, actually. You don't need any special programs to get started, which is pretty great.
This article will walk you through all the different ways you can grab a picture of your screen on a PC. We'll cover everything from quick keyboard taps to more specific tools, making sure you can capture your whole screen, just a window, or even a custom bit, more or less, effortlessly. So, let's get into it and learn how to do this handy trick.
- Jackerman Mothers Warmth
- Emily Compagno
- I Just Lost My Dawg Lyrics
- Henry Günther Ademola Dashtu Samuel
- Inside Out 2 Always On Phone
Table of Contents
- Capturing Your Whole Screen, Very Simply
- Grabbing Just a Piece of Your Screen
- Snapping an Active Window
- Other Clever Ways to Get Your Screen Shot
- Editing and Saving Your Pictures
- Frequently Asked Questions (FAQs)
Capturing Your Whole Screen, Very Simply
Sometimes, you just need to get everything that's showing on your screen into one picture. This is, you know, really common for showing an error message or maybe a full web page layout. Luckily, Windows makes this incredibly simple with a keyboard trick.
Using a Quick Keyboard Combo
To capture your entire screen, you just need to press two keys together. You'll want to find the "Windows key" (it has the Windows logo on it) and the "Print Screen" key (often labeled "PrtSc" or "Print Scrn") on your keyboard. Pressing these at the same time will make your screen dim for a moment, which tells you it worked, actually.
Once you do that, your computer automatically saves the picture. You won't have to paste it anywhere yourself. You'll find this image in a special spot: go to your "Pictures" folder, and inside there, you'll see a folder called "Screenshots," that's where it is. It's a very quick and easy way to save what you're seeing, more or less.
- Aime Leon Dore Hat
- Dominican Restaurant Near Me
- Canon G7x Mark Iii
- Red Crab Juicy Seafood
- I Love You In Russian
Grabbing Just a Piece of Your Screen
Often, you don't need the whole screen; maybe you just want a small section or a particular image. For these times, Windows has a built-in tool that lets you draw a box around exactly what you want to keep. This is where the Snipping Tool comes in handy, and it's quite flexible, too.
The Handy Snipping Tool Shortcut
For a fast way to get to the Snipping Tool, just press the "Windows key" + "Shift" + "S" all at once. When you do this, your screen will get a bit darker, and your mouse cursor will change into a crosshair. This means you can then click and drag your mouse to draw a box around the specific area you want to capture, in a way.
As soon as you let go of the mouse button, that selected part of your screen is copied. It goes right into your clipboard, ready for you to paste it into an email, a document, or an image editor. A small notification might pop up in the corner of your screen, letting you open the picture to make quick edits, like drawing on it or highlighting things, which is pretty useful.
Launching the Snipping Tool Directly
You can also open the Snipping Tool program itself if you prefer. Just type "Snipping Tool" into the search bar on your taskbar and click to open it. This gives you a few more choices before you even start capturing, you know.
Once the Snipping Tool window is open, you'll see options like "New" to start a capture, and a "Mode" button that lets you pick different shapes for your screenshot. You can choose a rectangular snip, a free-form snip (where you draw any shape), a window snip, or a full-screen snip. This gives you a lot of control over how you capture your screen, actually, whether it's on Windows 10 or Windows 11.
Snapping an Active Window
Sometimes, you only need a picture of one specific program window that you have open, not the whole screen, and definitely not just a custom bit. Windows has a simple trick for this too, which is quite handy, you know. This method focuses just on the window you are currently using.
First, make sure the window you want to capture is the one you are actively working in. It should be at the front of your screen. Then, press the "Alt" key and the "Print Screen" key at the same time. This action will take a picture of only that active window. The image will be copied to your clipboard, ready for you to paste it wherever you need it, like your favorite editing program or a message, so. It's a neat way to keep your screenshots focused and clean.
Other Clever Ways to Get Your Screen Shot
Beyond the basic keyboard shortcuts and the versatile Snipping Tool, Windows offers a few other methods that might be perfect for your needs, depending on what you're doing. These can be especially helpful if you're gaming or need a bit more control over the process, in a way.
Xbox Game Bar for Gamers and More
If you're someone who plays games on your PC, you might already know about the Xbox Game Bar. It's a tool that pops up when you press the "Windows key" + "G". This bar has a lot of features for gamers, and one of them is taking screenshots, too. You'll see a camera icon there, which you can click to grab a picture of your game or whatever is on your screen.
The Game Bar also lets you record video, which is pretty cool. The screenshots taken with the Game Bar are usually saved in a specific folder within your "Videos" folder, often called "Captures." It's a quick way to get those in-game moments without leaving your game, which is quite convenient for many players, more or less.
Editing and Saving Your Pictures
Once you've captured your screen, what happens next? Well, if you used the "Windows key + Print Screen" method, your picture is already saved in the "Screenshots" folder inside "Pictures." But for other methods, like the Snipping Tool, the image usually goes to your clipboard, which means it's ready to be pasted somewhere, you know.
When an image is on your clipboard, you can open a program like Paint, Paint 3D, or even a simple word processor, and press "Ctrl + V" to paste it. From there, you can make any changes you like, such as cropping it further, adding text, or drawing on it. After you're happy with how it looks, you can then save it to any folder on your computer, giving it a name that makes sense to you, so. This flexibility means you can always get your screenshots just right. Learn more about digital organization on our site.
Frequently Asked Questions (FAQs)
Here are some common questions people have about taking screenshots on a PC, actually:
1. How do I take a screenshot on a laptop without a Print Screen key?
Many laptops, especially smaller ones, might not have a dedicated "Print Screen" key. In these cases, you can often use a combination like "Fn" (Function key) + "Windows key" + "Spacebar" or "Fn" + "Insert" (if "Insert" shares a key with "Print Screen"). The "Windows key + Shift + S" shortcut for the Snipping Tool is always a reliable option, too, as it doesn't depend on a "Print Screen" key at all. You can also link to this page for more laptop-specific tips.
2. Where do my screenshots go after I take them?
If you use the "Windows key + Print Screen" method, your screenshots are automatically saved as image files in the "Screenshots" folder, which you'll find inside your "Pictures" folder. For methods like "Windows key + Shift + S" (Snipping Tool) or "Alt + Print Screen," the image is copied to your clipboard. This means it's not saved as a file yet, but it's ready for you to paste into an application like Paint, Word, or an email, and then save it from there, if you want to keep it as a file, you know.
3. Can I edit my screenshots right after I take them?
Yes, you can! When you use the "Windows key + Shift + S" shortcut, a small notification usually appears in the bottom right corner of your screen. Clicking on this notification will open the Snipping Tool's editor, where you can quickly crop, highlight, draw, or add notes to your screenshot. For other methods, you'll need to paste the image into a separate program like Paint or another image editor to make changes, which is pretty straightforward, more or less.
- Dominican Restaurant Near Me
- Costco Hot Dog Calories
- What Is A Sapiosexual
- Lee Lucas From Baton Rouge
- Cronología De Inter Milan Contra Fc Barcelona

How do I create a screen shot? | ChurchTrac Support
Screen Shot Pc Shortcut at Ruby Williams blog

Screen Shot Pc Shortcut at Ruby Williams blog
