Mastering The Knot: How To Tie A Bow With Style And Ease
Learning how to tie a bow is, you know, a pretty useful skill to have, whether you're wrapping up a thoughtful present, adding a touch of class to your outfit, or just trying to make something look a bit more polished. It's almost like a small act of creative expression, really, taking a simple piece of ribbon or fabric and shaping it into something quite lovely. People often think it's tricky, but honestly, with a few good pointers, anyone can get the hang of it, and that's the truth.
For many, the idea of a perfect bow seems a bit out of reach, like something only expert crafters or fashion gurus can manage. But actually, it’s a skill that can be broken down into some simple steps, and you’ll find that practice just makes it better. We're going to look at a couple of different ways to make bows, so you can pick the one that fits what you need, like, for a gift or for wearing.
This article will walk you through the process, from the very basic decorative bow to the more refined self-tied bow tie, which is a real mark of personal style, in a way. You'll get some practical tips and, you know, some actionable advice to help your bows look neat and stay put. So, let's get into making those beautiful knots, shall we, and see how easy it can be.
- Cuantas Calorias Tiene Una Manzana
- Roselyn Sánchez Movies And Tv Shows
- Disney World Annual Pass
- How Did Coach Wall Die
- Sid From Toy Story
Table of Contents
- Why a Good Bow Matters
- Understanding Your Materials
- The Simple Decorative Bow: For Gifts and Decor
- The Elegant Self-Tied Bow Tie: A Timeless Skill
- Common Questions About Tying Bows
- Making Your Bows Last
- Final Thoughts on Your Bow-Tying Adventure
Why a Good Bow Matters
A well-tied bow, honestly, it just adds that special something to things. Think about a present wrapped with a really neat bow; it just looks more inviting, doesn't it? Or consider a self-tied bow tie, which, you know, gives off an air of sophistication and personal touch that a pre-tied one just can't quite match. It shows a bit of care and attention to detail, which people often appreciate, actually.
Beyond looks, knowing how to tie a bow is a handy life skill. It’s useful for crafts, for securing things, or even just for making your hair look a little bit nicer. It’s one of those small things that, you know, once you master it, you find yourself using it more often than you might think, in a way. And it’s a pretty old skill, too, with roots going back to simple knots for practical reasons.
The "People Also Ask" section often shows that folks are looking for ways to make their bows look better and stay put. That’s because a messy or loose bow can, frankly, take away from the overall presentation. We want to avoid that, so we’ll focus on techniques that give you a neat, secure, and rather attractive result every time, or at least, nearly every time.
- Dairy Queen Grill Chill
- Riley Green Wife
- Bbq Chicken Urban Dictionary
- Bhad Bhabie Net Worth
- Bhad Bhabie Net Worth
Understanding Your Materials
Before you even start, knowing a little about what you're tying with can make a big difference, you know. Ribbons come in all sorts of widths, textures, and stiffness levels, and so do bow ties. For a gift, a wider, slightly stiffer ribbon might hold its shape better, for example. Velvet, patterned, or silk ribbons each behave a little differently when you’re trying to make them into a bow.
When it comes to bow ties, as a matter of fact, the material really affects how it ties and how it looks. My text mentions a great selection of men's ties and bow ties in silk, cotton, and more, available from places like Nordstrom. Silk bow ties, for instance, are often smooth and a bit slippery, which can make them a little harder to tie at first, but they drape beautifully. Cotton or wool bow ties, on the other hand, might offer more grip, making them a bit easier for beginners, and they often give a more casual, textured look, too.
The choice of material, honestly, is part of the fun. You can pick something that matches the occasion or your personal style. Just remember that a very thin or very thick material might need a slightly different touch when you’re forming your loops and tightening your knot, you know, so keep that in mind as you practice.
The Simple Decorative Bow: For Gifts and Decor
This is probably the bow most people think of first, the one you put on a gift or use to tie back curtains, or, you know, even to decorate a hair accessory. It’s a pretty fundamental skill, and once you get it down, you’ll find yourself using it quite often, as a matter of fact. The goal here is usually a symmetrical, fluffy-looking bow that adds a nice finish.
Step-by-Step Guide to a Classic Bow
Here’s how you can make a really nice, simple bow, you know, the kind that looks like it took ages but actually doesn't.
Start with your ribbon: Hold one end of the ribbon in your left hand (if you're right-handed) and the longer working end in your right. You want enough length for two loops and two tails, so, you know, give yourself a bit extra to be safe.
Make the first loop: Create a loop with the working end, bringing it over and then under the stationary end. This will be your first "ear" of the bow, as it were.
Form the second loop: Bring the working end around and behind the first loop you just made. This is, arguably, the trickiest part for some, but just take your time.
Thread through the center: Now, push the working end up through the hole that formed in the center of your two loops. This is where the magic happens, so to speak.
Pull gently: Pull both loops and the two tails at the same time, slowly, to tighten the knot. You’ll want to make sure it’s snug but not too tight, or it might get squished, you know.
Adjust and fluff: Once it's tied, you can gently pull and tug on the loops and tails to make them even and full. This is where you really make it look pretty, honestly. You can trim the tails to your desired length and shape, perhaps with a nice diagonal cut.
Tips for a Fuller, More Even Bow
Use wire-edged ribbon: If you're looking for a really full, shapely bow, ribbon with wire edges is, you know, your best friend. It lets you mold the loops into exactly the shape you want, and they stay put, which is great.
Practice with different widths: A wider ribbon often makes a more dramatic bow, while a narrower one is, you know, a bit more delicate. Try a few different sizes to see what you like best for various uses, you know.
Double knot for security: For a bow that absolutely needs to stay put, like on a package that’s going to travel, consider tying a small, simple knot first before you even start making your loops. This gives it a really firm base, in a way.
Keep your hands steady: Sometimes, people get a bit rushed, but a slow and steady hand really helps create an even, pretty bow. It's not a race, you know, so just relax and take your time.
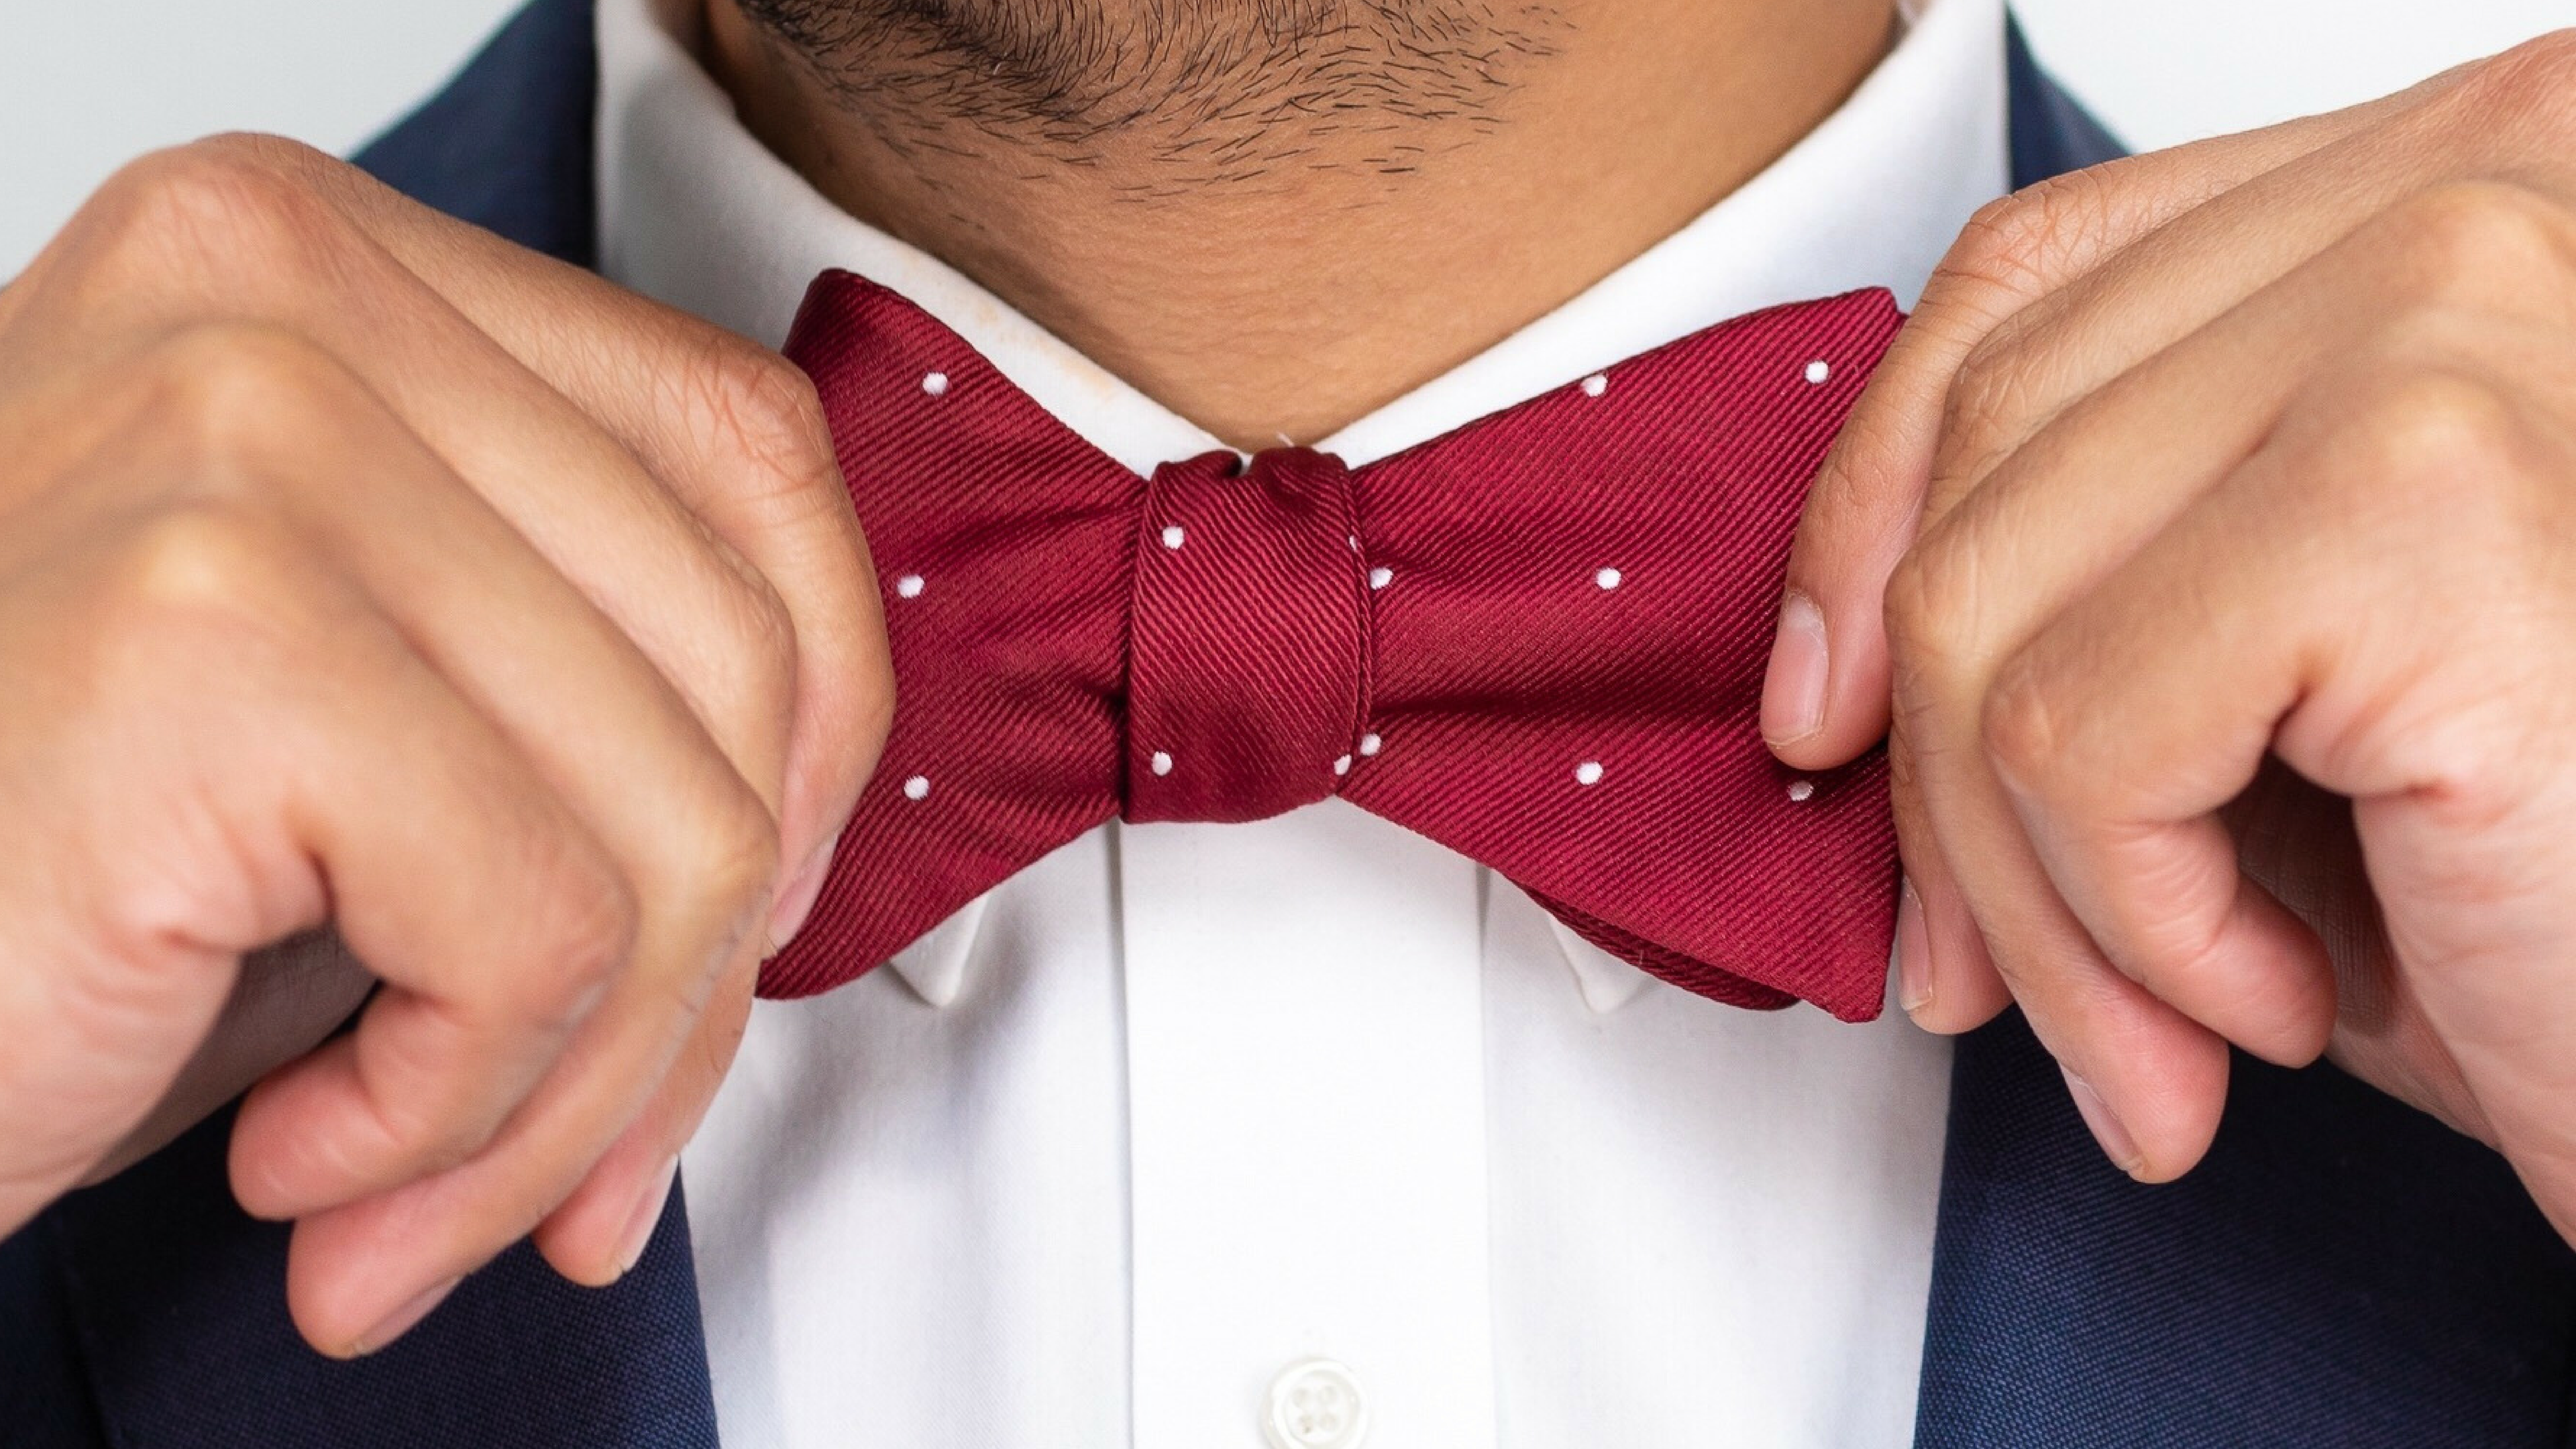
The Elegant Self-Tied Bow Tie: A Timeless Skill
Tying your own bow tie is, honestly, a classic move. It sets you apart from those who wear pre-tied ones, and it shows a certain appreciation for tradition and personal flair, too. My text mentions various types of ties, including bow ties, from silk to velvet, and learning to tie one yourself means you can really make any of these materials look their best, you know. It’s a skill that, once learned, you’ll never forget, and it always looks a bit more natural and less stiff than a clip-on.
Getting Ready for Your Bow Tie
First things first, make sure your bow tie is, you know, adjusted to the correct length around your neck. The ends should hang down fairly evenly, with one side maybe just a little bit longer than the other, which is actually helpful for the tying process. You want to stand in front of a mirror, which makes it a lot easier to see what you're doing, obviously.
Step-by-Step Guide to Tying a Bow Tie
This method is, you know, pretty standard and works for most self-tied bow ties. It might take a few tries, but you'll get it, really.
Cross the ends: Drape the bow tie around your neck. Let one end hang a bit lower, perhaps by about an inch or so, depending on the tie. Cross the longer end over the shorter end, right at the collarbone. This is your starting point, essentially.
Bring the longer end up and through: Take the longer end and bring it up underneath the shorter end, then pull it through the loop you just created around your neck. This forms a simple knot, which is, you know, the foundation.
Form the first loop: Take the shorter end and fold it horizontally across your collar, forming one side of the bow. This will be the front loop, so make it neat, you know.
Bring the other end over: Now, take the longer end that’s hanging down. Bring it straight down over the center of the first loop you just made. This is, arguably, where it starts to look like a bow.
Create the second loop: Fold this longer end back on itself, behind the first loop, creating the second side of the bow. You’ll want to make these loops look pretty even, if you can.
Push through the back loop: There’s a small loop that formed behind the first bow shape. Push the folded part of the second loop through this back loop. This can be a bit fiddly, so, you know, take your time.
Tighten and adjust: Pull both loops simultaneously to tighten the knot. Then, gently pull on the folded edges of the bow and the tails to even out the loops and make the bow symmetrical. This is where you really shape it, you know, like sculpting. You might need to adjust it a bit to get it just right, and that’s perfectly normal, as a matter of fact.
Bow Tie Materials and Styles
My text highlights a great selection of men's ties, bow ties, and pocket squares, mentioning velvet, patterned, and silk options. This means there's a lot of variety, and each type has its own feel, you know.
Silk: A classic choice, very smooth and elegant. It can be a bit slippery, but the finished look is incredibly refined. It’s often used for formal events, and honestly, it just looks good.
Cotton: More casual, often with a bit more texture. Easier to tie for some because it offers more grip. Great for everyday wear or less formal gatherings, you know, like a garden party.
Wool: Offers a warmer, richer texture, perfect for cooler weather or a more academic look. It’s also quite forgiving when tying, which is a plus, arguably.
Velvet: Very luxurious and adds a touch of old-world charm. It’s a bit thicker, so it might make a slightly larger knot, but it looks absolutely stunning for special occasions, in a way.
Patterned: From subtle stripes to bold paisleys, patterned bow ties let you show off your personality. Just make sure the pattern isn't too busy if you're pairing it with a patterned shirt, you know.
Common Questions About Tying Bows
People often have similar questions when they're learning how to tie a bow, and that's completely natural, you know. Here are a few common ones, and we'll try to clear them up.
How do you tie a simple bow?
A simple bow, like the decorative one we discussed, is made by forming two loops, crossing them, and then pushing one loop through the center of the other. It's basically the "bunny ears" method many of us learned as kids for shoelaces, you know. The key is to pull gently and evenly to get a nice shape. For a quick visual, you might find some helpful guides online about basic knot tying, you know, like this one on Animated Knots, which is pretty good.
What is the easiest way to tie a bow?
The easiest way for most people is probably the classic "bunny ears" method for a decorative bow. For a bow tie, the method described above is, you know, widely considered the most straightforward. Some folks find it easier to practice with a longer tie or a piece of rope first, just to get the feel of the movements, and that's perfectly fine. It's all about muscle memory, really, so practice makes it easier, obviously.
How do you tie a bow that stays?
To make a bow stay put, especially for gifts or hair, you can, you know, first tie a simple square knot with the ribbon before forming the loops. This creates a secure base. For bow ties, making sure the knot is snug against your neck and then adjusting the loops carefully helps it hold its shape. Some materials, like silk, might be a bit more prone to loosening, so a tighter initial pull can help, you know, keep it secure. A good quality ribbon or bow tie will also help, honestly.
Making Your Bows Last
Once you’ve tied a beautiful bow, whether it’s for a gift or around your neck, you want it to stay looking good, right? For decorative bows, a little bit of hairspray can, you know, sometimes help a flimsy ribbon hold its shape, especially if it’s a delicate fabric. Just a light mist, though, you know, not a drenching.
For bow ties, the beauty is that they are meant to be untied after each wear. This helps them last longer and keeps them from getting permanently creased. When you're done, gently untie it, smooth it out, and hang it up. My text mentions shopping for men's ties and neckties in silk, cotton, and more, and proper care for these materials, you know, really extends their life. A silk bow tie, for instance, might need dry cleaning, while a cotton one might be hand-washed. Always check the care label, as a matter of fact.
And, you know, for any bow, avoiding excessive pulling or tugging once it’s tied will help maintain its shape. If you need to adjust it, do so gently, rather than just yanking on one side. A well-cared-for bow, honestly, can be a source of pride, and it just makes things look better, too.
Final Thoughts on Your Bow-Tying Adventure
So, we've gone over the ins and outs of how to tie a bow, from the simple decorative kind to the rather elegant self-tied bow tie. It's a skill that, you know, really adds a touch of finesse to many aspects of life. Remember, practice is key here, and don't get discouraged if your first few attempts aren't absolutely perfect, because that's just part of learning, honestly.
Each time you try, you'll get a better feel for the material and the movements. Soon enough, you'll be tying bows with confidence and, you know, a real sense of accomplishment. Whether you're making a gift look extra special or stepping out in a perfectly tied bow tie, this skill will serve you well. You can learn more about knot tying on our site, and perhaps even find some inspiration on different tie styles that complement your new bow-tying abilities.
- Wasmosomali
- Zack De La Rocha
- Jojo Siwa Magazine Cover
- 10 Sibling Entire Wayans Brothers Family
- Nba 2k25 Locker Codes

Tie The Bow Men'S - Free photo on Pixabay - Pixabay

Tie Bow Fashion - Free photo on Pixabay - Pixabay
HOW TO TIE A BOW TIE
