Your Expert Guide: How To Take Acrylic Nails Off Safely At Home Today
Acrylic nails can look absolutely stunning, giving your hands a polished, really glamorous touch, but you know, there comes a time when they need to come off. It’s a moment many people dread, honestly, because there's this common idea that acrylics themselves cause a lot of harm to your natural nails. That's a common thought, anyway.
The truth, though, is that the acrylics aren't usually the problem; it's how they're taken off that causes the damage. So, improper removal, like peeling or pulling at them, can really leave your natural nails weak and thin, and that's just not what anyone wants, actually.
That's why learning the proper way to remove them is so important, you see. We're here to show you exactly how to take acrylic nails off at home, keeping your natural nails safe and sound. You'll find out what tools you need, the best methods, and, just as importantly, what you really should avoid doing, according to experts.
- What Is A Sapiosexual
- Audrey Le Strat Age
- How Many 0 For Billion
- Bhad Bhabie Net Worth
- Nicki Minaj Net Worth
Table of Contents
- Why Proper Removal Matters
- Gathering Your Tools: What You'll Need
- Getting Ready: Preparing Your Space and Nails
- The Soaking Method: Your Go-To Technique
- Aftercare: Nurturing Your Natural Nails
- What Not to Do: Common Mistakes to Avoid
- Frequently Asked Questions About Acrylic Nail Removal
Why Proper Removal Matters
Many people believe acrylic nails are damaging to their natural nails, and that's a common concern, you know. But as a matter of fact, the real issue often comes down to how they're taken off. It's almost never the acrylic itself that causes harm, so much as the removal process.
When you try to pull or peel off acrylics, you're not just taking off the artificial layer. You're actually ripping away layers of your natural nail underneath, too. This can lead to thin, brittle, and very weak nails, which can take a long time to recover, honestly.
Proper removal methods, like the ones we'll share, aim to dissolve the acrylic gently. This way, your natural nails stay protected and can keep their strength. It's a bit like giving them a soft landing, rather than a harsh goodbye, in a way.
- Stanley Hudson From The Office
- La La Land Cafe
- Cách Tạo Tài Khoản Flow
- Drew Pritchard En La Actualidad
- Dr Pepper Creamy Coconut
Gathering Your Tools: What You'll Need
Before you start, it’s a good idea to get all your supplies together. Having everything ready makes the process much smoother and less stressful, you know. This is how the experts often prepare, so you're basically setting yourself up for success.
Acetone: The Key Ingredient
Pure acetone is the absolute hero of acrylic nail removal, really. It’s the only thing that will effectively break down the acrylic material. You'll want to make sure you get 100% pure acetone, not just regular nail polish remover, which is usually too weak, actually.
You can find pure acetone at most beauty supply stores or even some drugstores. Just check the label carefully to confirm it's 100% pure, because that's what's going to do the job right. So, this is a must-have for sure.
Nail Files and Buffers
You'll need a good quality nail file, probably a coarse one, to help with the initial steps. This is for roughing up the surface of your acrylics, which helps the acetone get to work faster, you know. A nail buff will also be handy for the final touches.
Having a few different grits of files can be useful, too. A coarser file for the top layer and a finer one for shaping your natural nail later on. It’s all about being prepared, really.
Other Essential Items
- Nail Clippers: These are for carefully trimming down the length of your acrylics. You want to cut them as close to your natural nail as possible, which helps reduce the soaking time, you see.
- Cotton Balls or Pads: You'll need enough to cover each of your acrylic nails. They're basically the carriers for the acetone, so having plenty is a good idea.
- Aluminum Foil: Cut into small squares, these will wrap around your fingers to hold the acetone-soaked cotton in place. This creates a little warm environment for the acetone to work efficiently, in a way.
- Orange Wood Stick or Cuticle Pusher: This tool is for gently pushing off the softened acrylic once it starts to dissolve. You really don't want to use anything too sharp or metal, as that could hurt your natural nail, you know.
- Small Bowl (optional, for the bowl method): If you choose the bowl method, you'll need a glass or ceramic bowl. Just make sure it's not plastic, as acetone can sometimes react with certain plastics, which is something to consider.
- Petroleum Jelly or Cuticle Oil: This is for protecting the skin around your nails from the drying effects of acetone. It's a very important step, actually.
- Towel: To protect your work surface from spills.
- Ventilation: This isn't a tool, but it's super important. We'll talk more about it in a moment.
Getting Ready: Preparing Your Space and Nails
Getting your area and your nails ready is a pretty big part of a successful removal. It makes the whole process safer and more effective, too. So, let's look at how to set things up.
Safety First: Ventilation and Flames
Acetone has strong fumes, and it's also quite flammable, you know. So, safety really comes first here. You need to work in a well-ventilated area, like near an open window, or maybe even outside if the weather is nice, actually.
Make sure there are no open flames nearby, like candles, gas stoves, or even a lit cigarette. This is a very serious warning, so please pay attention to it. You really want to keep your workspace clear and safe.
Clipping Down the Length
The first physical step is to clip off the tips of your acrylics. Use your nail clippers and cut as close to your natural nails as possible, but be careful not to clip your actual skin, you know. This significantly reduces the amount of acrylic that needs to dissolve, which saves you time.
Cutting them short makes the next steps much easier, and it just helps the acetone work more efficiently, really. It’s a small step that makes a big difference.
Roughing Up the Surface
Next, you'll want to roughen the surface of your acrylics with a nail buff or a coarse nail file. File until the shine is completely gone, and the surface looks dull, you see. This helps break the seal and allows the acetone to penetrate the acrylic more effectively.
You're not trying to file down to your natural nail, just taking off that top, shiny layer. This is a pretty crucial step, so take your time with it, actually. It's almost like opening up the acrylic for the acetone.
The Soaking Method: Your Go-To Technique
This is probably the most common and effective method for how to take acrylic nails off at home. It involves soaking your nails in acetone to dissolve the acrylic, making it much easier to remove, you know. Experts often recommend this approach for its safety and effectiveness.
Using Cotton Balls and Foil
First, protect the skin around your nails by applying petroleum jelly or cuticle oil. This creates a barrier against the drying effects of the acetone, which is very helpful, honestly.
Then, soak a cotton ball in pure acetone until it's really saturated. Place one on each acrylic nail, making sure it covers the entire surface. After that, wrap each finger tightly with a square of aluminum foil to hold the cotton ball in place and seal in the acetone, you see.
Repeat this for all ten fingers. It's a bit of a process, but it's worth it for protecting your nails. You'll basically have ten little foil-wrapped fingers, so maybe put on a show or something while you wait, actually.
The Bowl Method: A Faster Alternative
The bowl method is another option, and it can be a bit faster, too. However, it can also be a little harsher on the skin because your fingers are completely submerged in acetone, you know. If you choose this, make sure to protect your skin even more diligently.
Pour pure acetone into a glass or ceramic bowl. Again, apply a good amount of petroleum jelly or cuticle oil to your cuticles and the skin around your nails. Then, submerge your fingertips into the acetone. You'll need to keep them there for a while, so find a comfy spot, really.
This method usually works quicker because the entire nail is in constant contact with the acetone. But, it does expose more of your skin, so be aware of that, in a way. It's a trade-off, basically.
Patience is a Virtue: The Waiting Game
Whether you're using the foil method or the bowl method, patience is key, honestly. You'll need to let your nails soak for at least 20-30 minutes. Some thicker acrylics might even need longer, you know. Don't rush this part.
You'll start to see the acrylic becoming soft, almost gooey, and it might even begin to lift from your natural nail. This is a good sign that the acetone is doing its job, actually. If it's still hard, you probably need to soak a bit more, so just be patient.
If you're using the foil method, you can check one nail after about 15-20 minutes. If it's not soft enough, just re-wrap it and keep soaking. It's a process that usually takes some time, you see.
Gentle Removal: Pushing Off the Softened Acrylic
Once the acrylic is soft and pliable, gently push it off your natural nail using an orange wood stick or a cuticle pusher. The softened acrylic should come off quite easily, you know. If it doesn't, don't force it.
If you encounter resistance, re-soak that nail for another 5-10 minutes. Forcing the acrylic off can still damage your natural nail, and we really want to avoid that, actually. The goal is a gentle, damage-free removal, so take your time.
After you've removed all the acrylic, you might have some small, stubborn bits left. You can gently buff these away with a fine-grit nail buffer. Just be very careful not to over-buff your natural nail, because that's something you really want to protect, you see.
Aftercare: Nurturing Your Natural Nails
After all the acrylic is gone, your natural nails will probably feel a little dry and perhaps a bit sensitive, too. This is totally normal, as acetone can be quite dehydrating, you know. Now is the time to give them some serious love and care.
Wash your hands thoroughly to remove any remaining acetone residue. Then, apply a generous amount of cuticle oil to your cuticles and nails. Massage it in gently to help moisturize and nourish them, which is very important for their recovery, actually.
Follow up with a rich hand cream or lotion, making sure to really hydrate your nails and the skin around them. You might even consider applying a nail strengthener or a clear protective polish to give them an extra layer of support. Your nails will thank you for this, honestly.
For more great ideas on keeping your nails healthy after removal, Learn more about acrylic nail care on our site. It's really about giving them the best chance to bounce back, you know.
What Not to Do: Common Mistakes to Avoid
Knowing how to take acrylic nails off the right way is just as important as knowing what not to do. These common mistakes can really undo all your careful work and cause serious damage to your natural nails, you see. So, let's look at some things to steer clear of.
- Don't Peel or Pull: This is probably the biggest no-no, honestly. Peeling or pulling off acrylics is the fastest way to strip layers of your natural nail, leaving them weak, thin, and very prone to breaking. It's a really bad idea, actually.
- Don't Use Force: If the acrylic isn't coming off easily, it means it needs more time to soak. Forcing it with a metal tool or anything sharp can cause deep grooves and damage to your nail bed, which is something you really want to avoid.
- Don't Skip Ventilation: Acetone fumes are strong. Working in a closed space can cause headaches, dizziness, and other issues. Always, always ensure good airflow, you know. It’s a safety measure that's non-negotiable.
- Don't Use Anything Other Than Pure Acetone: Regular nail polish remover won't work effectively on acrylics. Using it will just waste your time and probably frustrate you, too. Stick to the pure stuff, because that's what's designed for this job.
- Don't Forget Skin Protection: Acetone is very drying to the skin. Skipping the petroleum jelly or cuticle oil can leave your cuticles and fingertips feeling raw and irritated. It’s a small step that makes a pretty big difference, honestly.
- Don't Over-Buff Your Natural Nail: Once the acrylic is off, your natural nail might have some residue. Use a fine buffer very gently, but don't go overboard. You're just smoothing, not filing down your actual nail, you know.
- Don't Rush the Process: Removing acrylics takes time and patience. Trying to speed things up by using too much force or not soaking long enough will almost certainly lead to damage. Take your time, really, because your nails will thank you for it.
Learning the safest way to remove acrylic nails at home with pure acetone and nail files means understanding these warnings, too. It’s all part of the expert advice, you see.
Frequently Asked Questions About Acrylic Nail Removal
How long does it really take to remove acrylic nails at home?
The time it takes can vary a bit, but usually, you're looking at around 30 to 45 minutes for the whole process. This includes the clipping, filing, and soaking time, you know. Thicker acrylics might need a little longer, so patience is key, actually.
Can I remove acrylic nails without acetone?
While there are some methods floating around that claim to work without acetone, experts generally agree that pure acetone is the safest and most effective way to dissolve acrylics. Other methods might involve more scraping or pulling, which can really damage your natural nails, you see. So, acetone is highly recommended, honestly.
What should I do if my nails still feel weak after removing acrylics?
It's pretty common for natural nails to feel a bit weak or soft after acrylic removal, you know. The best thing to do is keep them moisturized with cuticle oil and hand cream. You can also use a nail strengthener polish for a few weeks to help them regain their strength. Giving them a break from any polish for a bit can also be very helpful, actually. For more ideas on how to strengthen your nails, Discover other beauty tips here.
Reference: Nail Care Practices: A Review of the Literature
- What Happened To Rachael Ray
- Tyson Httpsanonpastecomsharesophie Rain Spiderman Video Fn834nm5f
- Where Did Steve Horstmeyer Go To High School
- How To Measure Inseam
- Jennifer Hudson And Common
Synonym Words with F - English Study Page

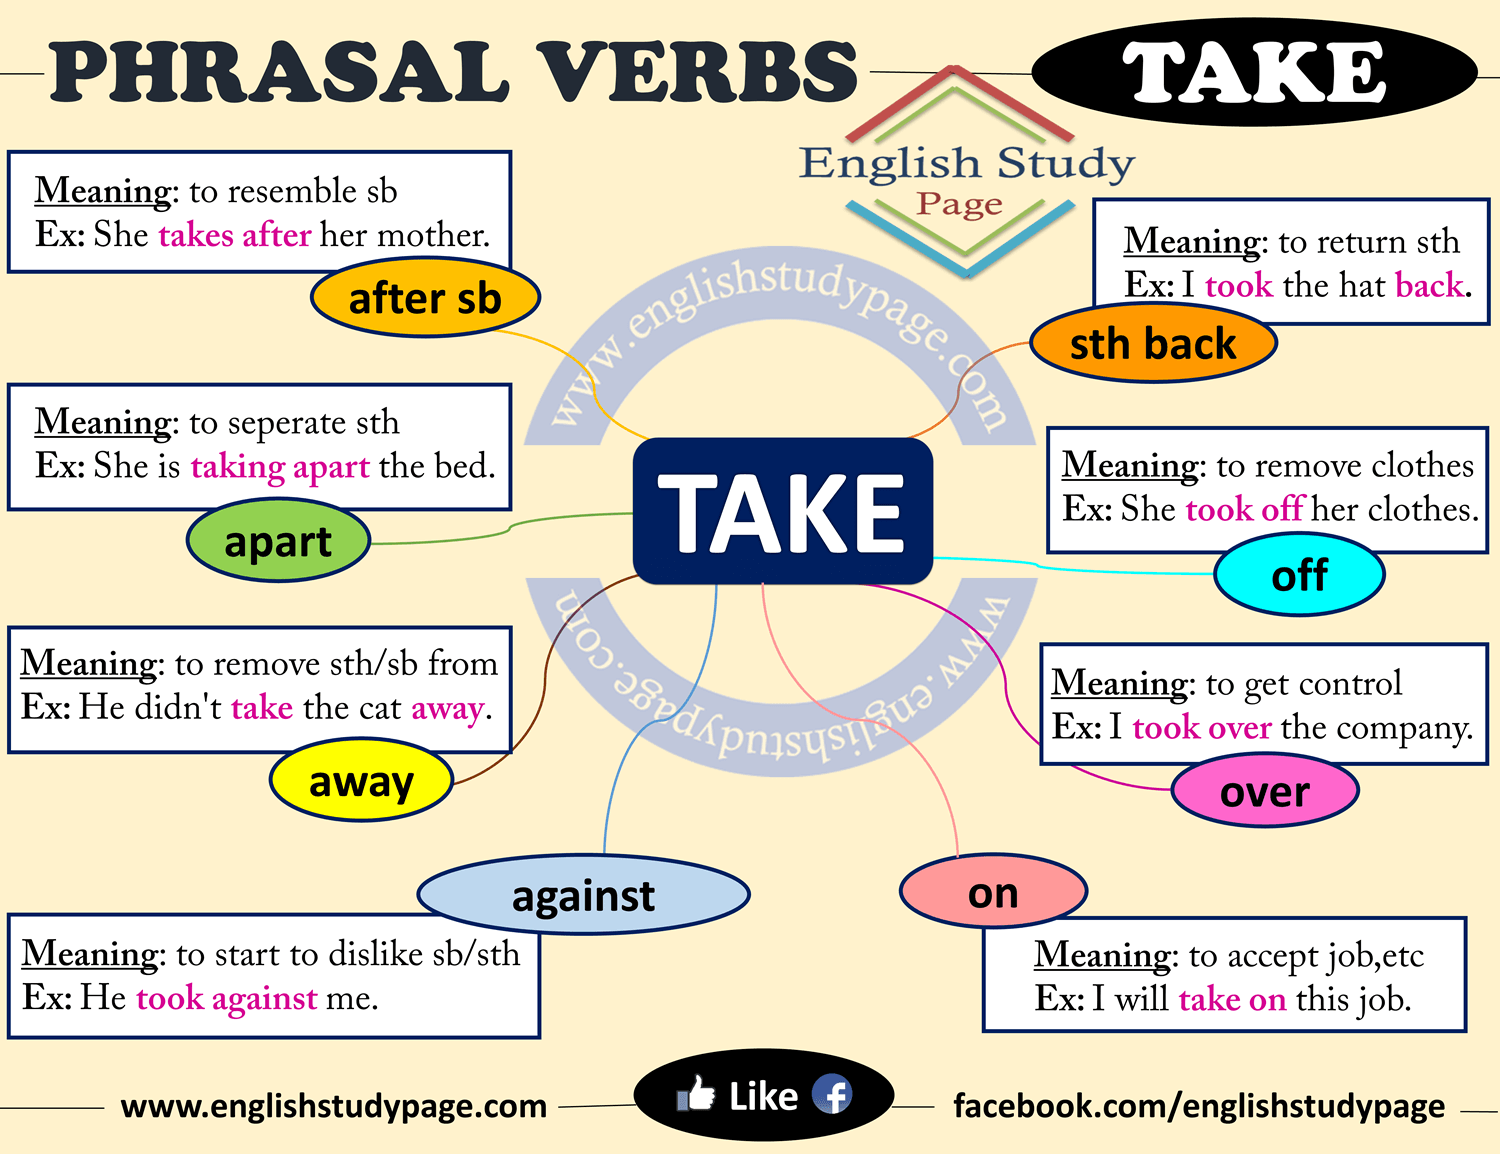
Phrasal Verbs – TAKE, Definitions and Example Sentences - English

こんなにたくさん!takeの用法の総まとめ!例文を確認して使いこなそう! - ネイティブキャンプ英会話ブログ | 英会話の豆知識や情報満載
